Software >> Middleware >> Weblogic >> How to install and configure weblogic 12.1.3 on Windows Server 2012 and create services for the admin and managed server as well as node manager
Assume the following requirements
| Weblogic version | 12.1.3 |
| Host OS | Windows 2012. Administration Server and Managed Server both located in the same host |
| Weblogic Cluster | No |
| Use Node Manager | Yes |
| Domain | mydomain |
| Java | JDK 1.7 |
| Oracle_Home | E:\Oracle\Middleware\Oracle_Home |
| Admin Server listen port | 7001 |
| Admin Server name | AdminServer |
| Managed Server listen port | 7003 |
| Managed Server name | ManagedServer1 |
| machine name hosting the Managed Server | Machine1 |
| Node Manager listen port | 5556 |
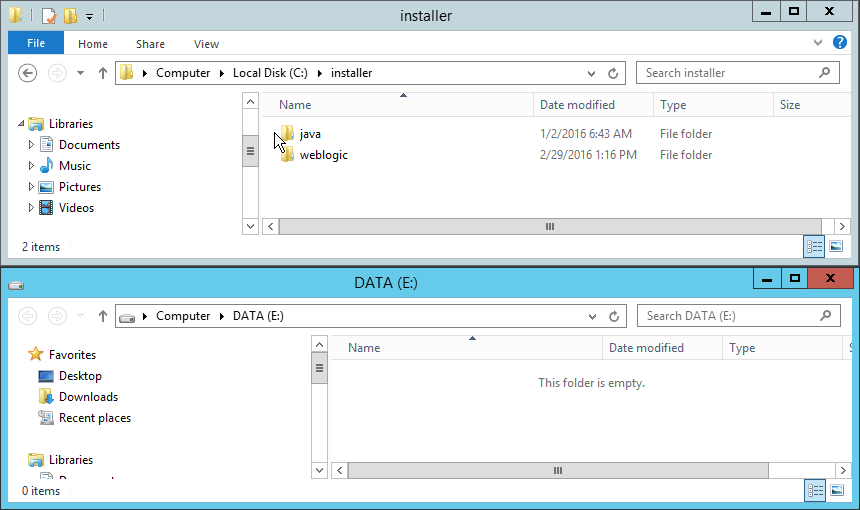
Fig. 001 Installers located in C:\installer. We have installer for java and weblogic (from Fusion Middleware 12.1.3). Weblogic will be installed on drive E:
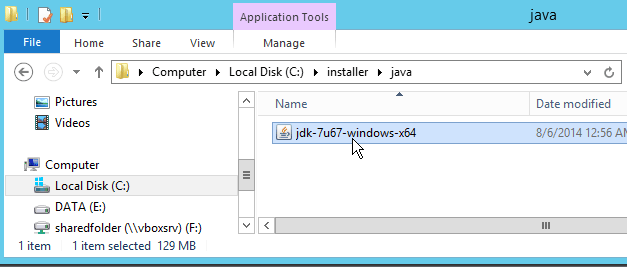
Fig. 002 Double click to start jdk installation
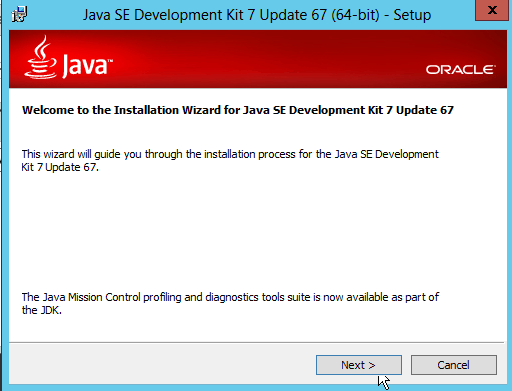
Fig. 003 Click Next

Fig. 004 Click Next
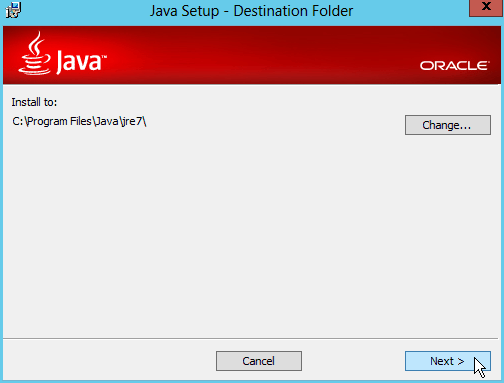
Fig. 005 Click Next
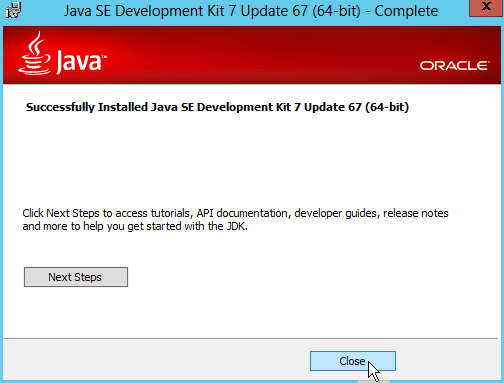
Fig. 006 Click Close
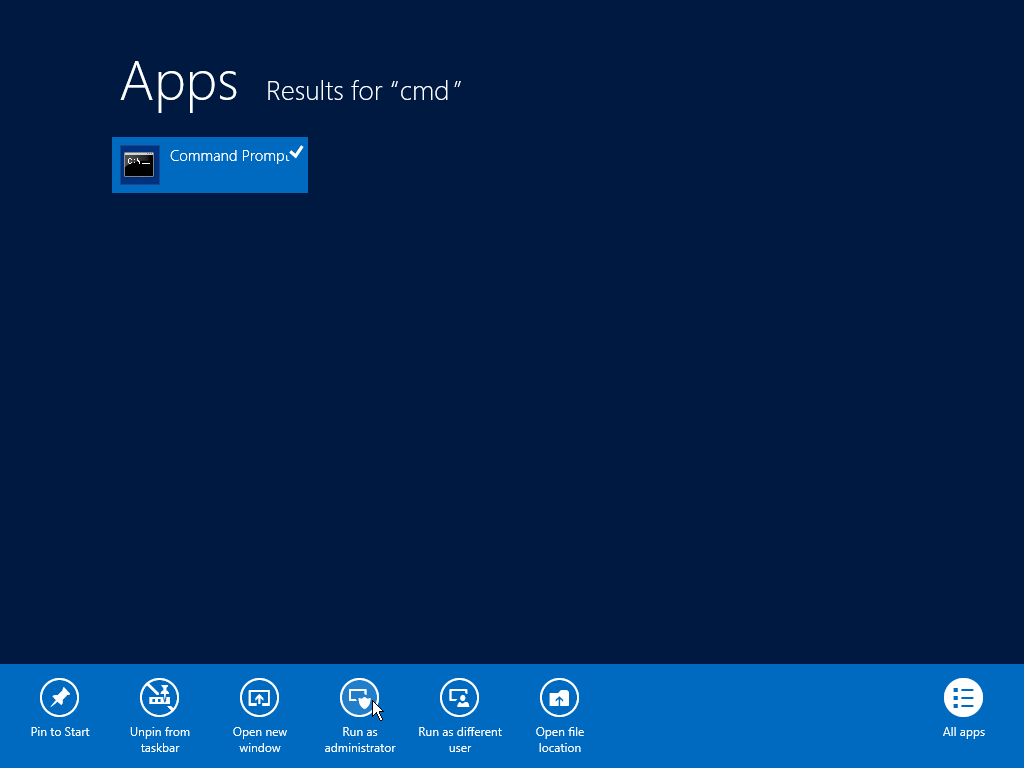
Fig. 007 Open Command Prompt with Run as administrator privilege
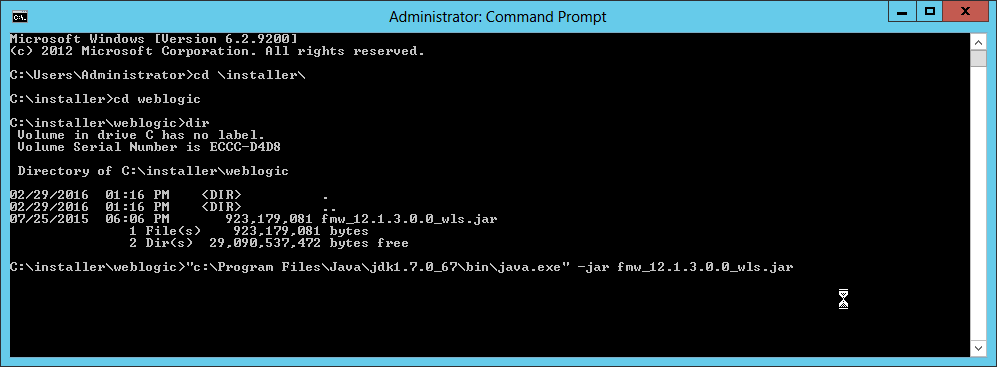
Fig. 008 Change to C:\installer\weblogic directory and then run java -jar fmw_12.1.3.0.0_wls.jar
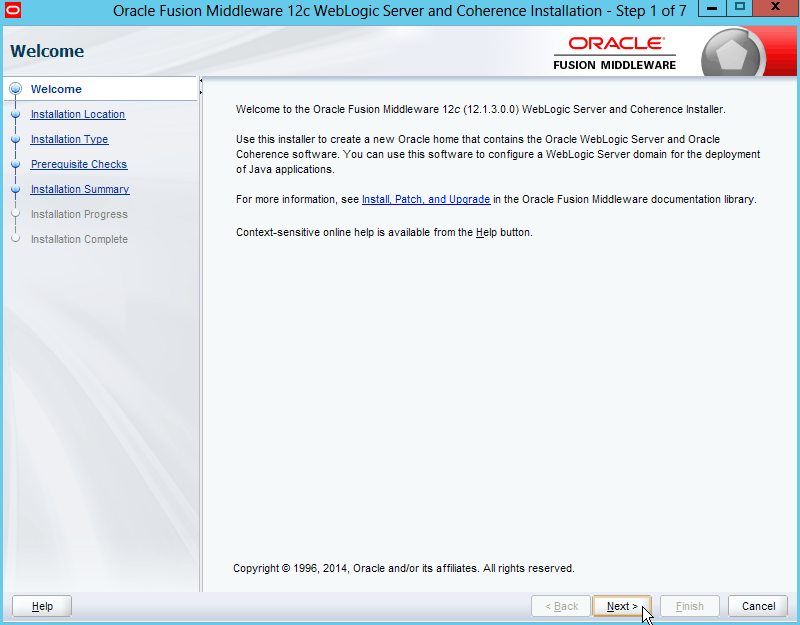
Fig. 009 Click Next
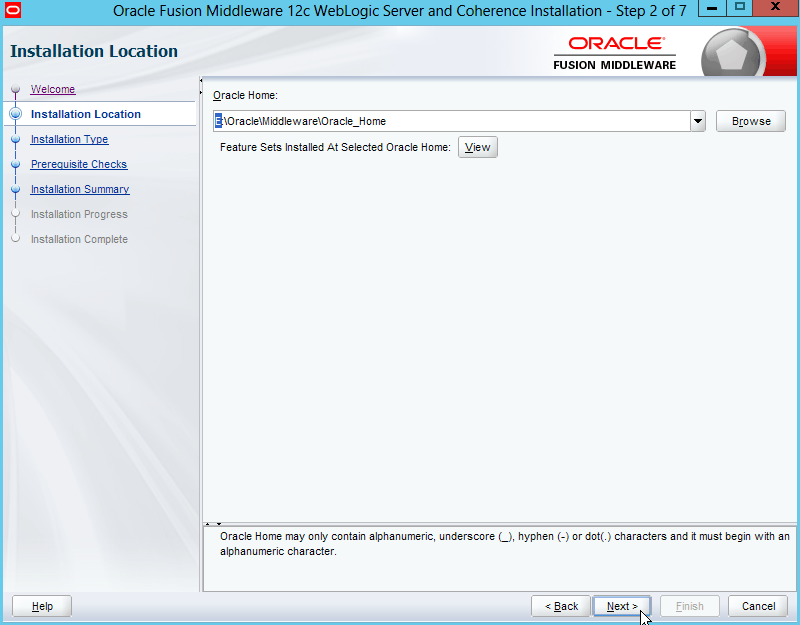
Fig. 010 Click Next
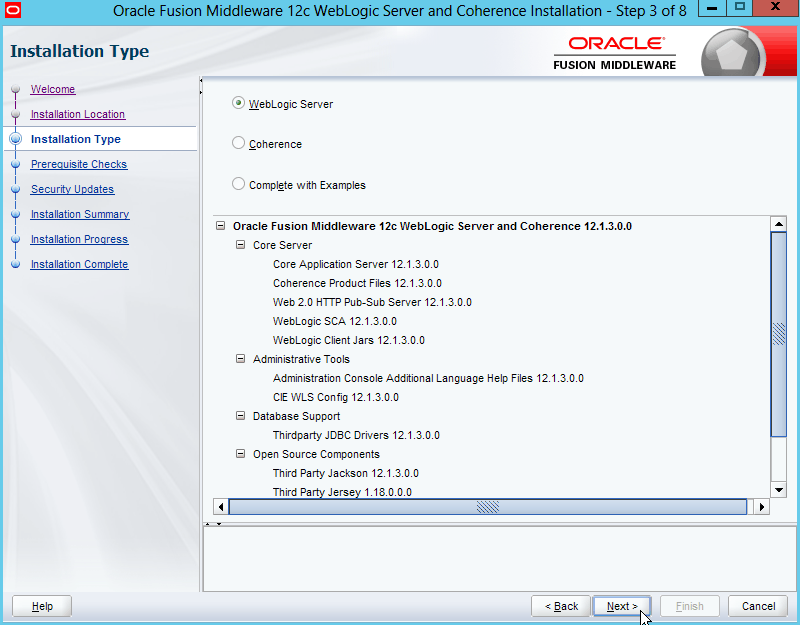
Fig. 011 Select Weblogic Server and then click Next
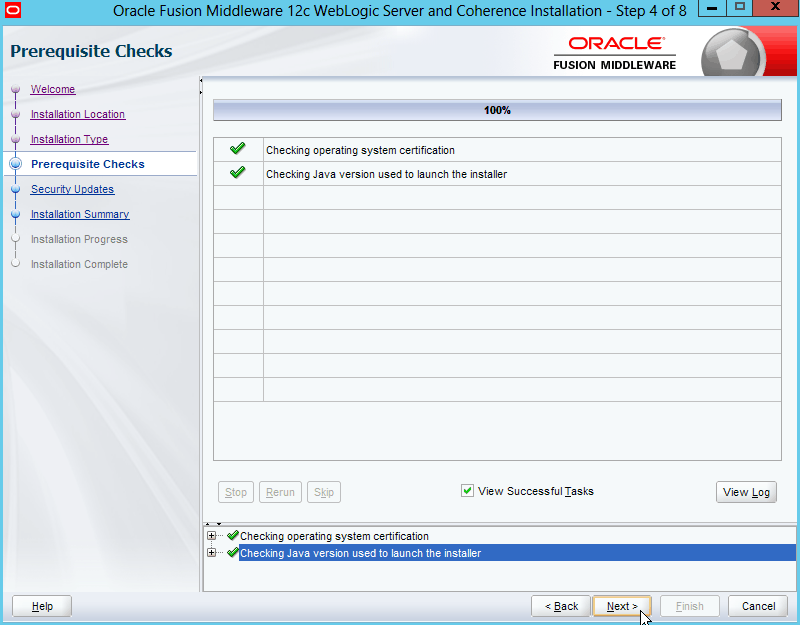
Fig. 012 Ensure prerequisite checks all passed and then click Next
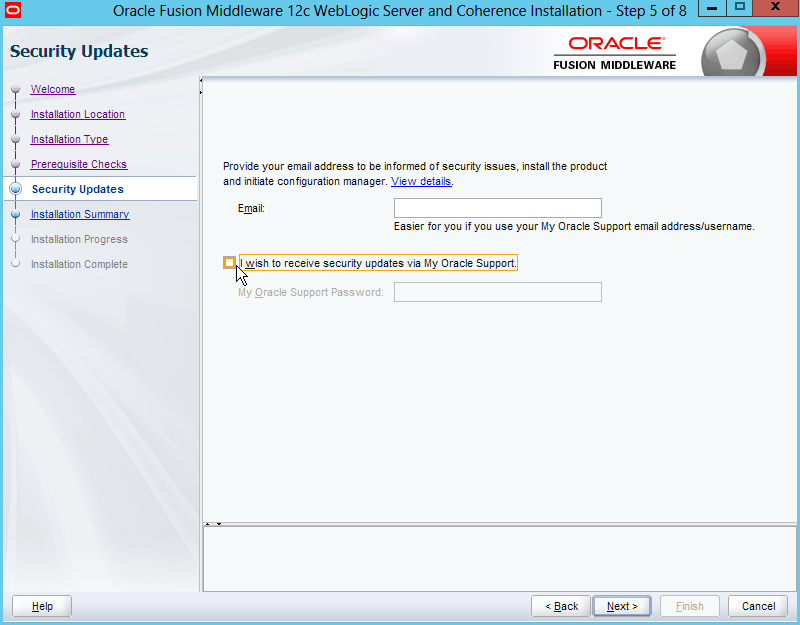
Fig. 013 Uncheck "I want to receive ..."

Fig. 014 Click Next
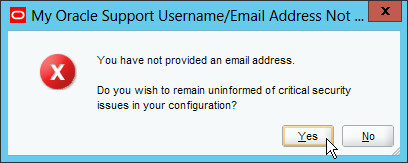
Fig. 015 Confirm to proceed without providing email address and click Yes
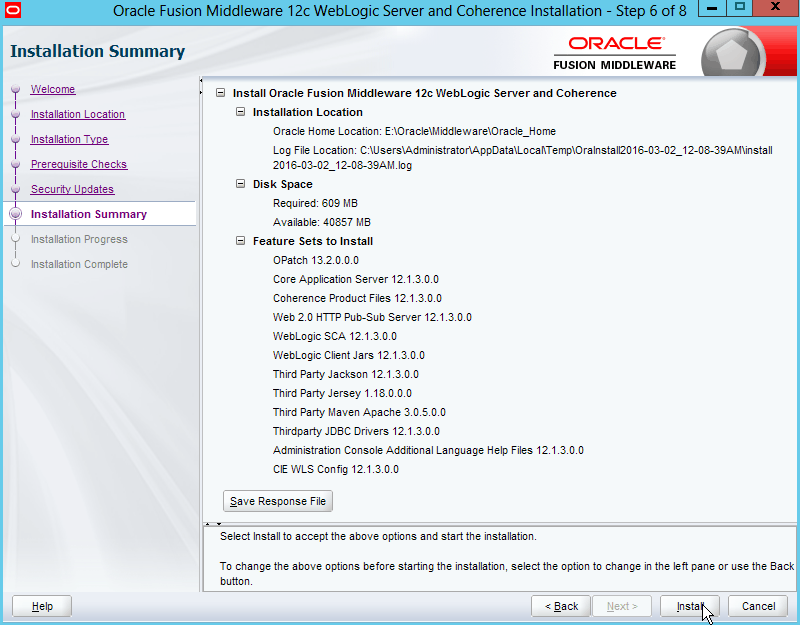
Fig. 016 Click Install
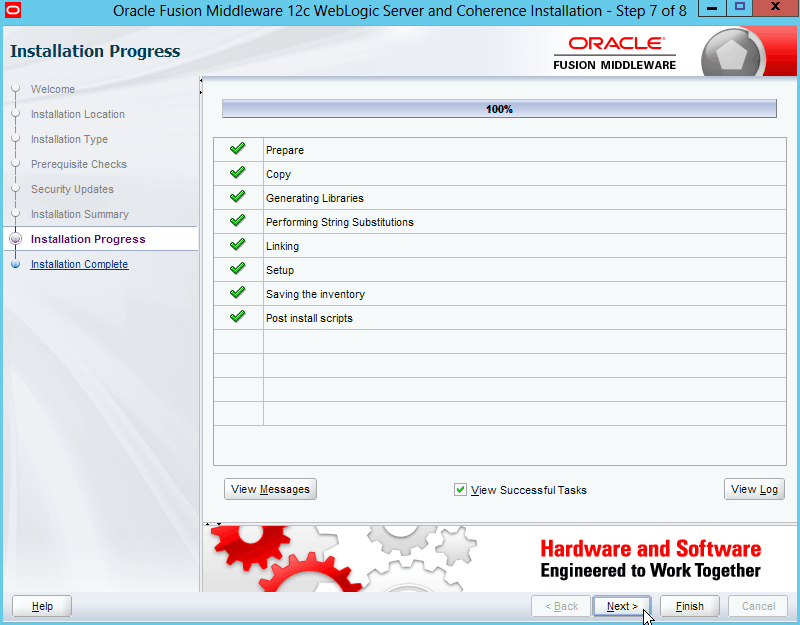
Fig. 017 After installation progressed to completion, Click Next
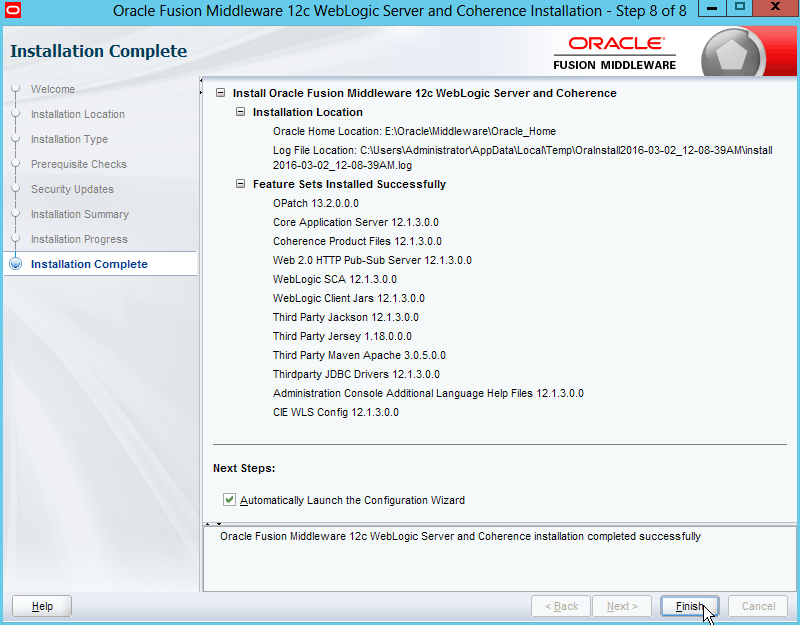
Fig. 018 If details are all available to proceed with the Weblogic Domain configuration, leave the option "Automatically Launch the Configuration Wizard", otherwise uncheck this option and launch the configuration wizard via a script later. Click Finish
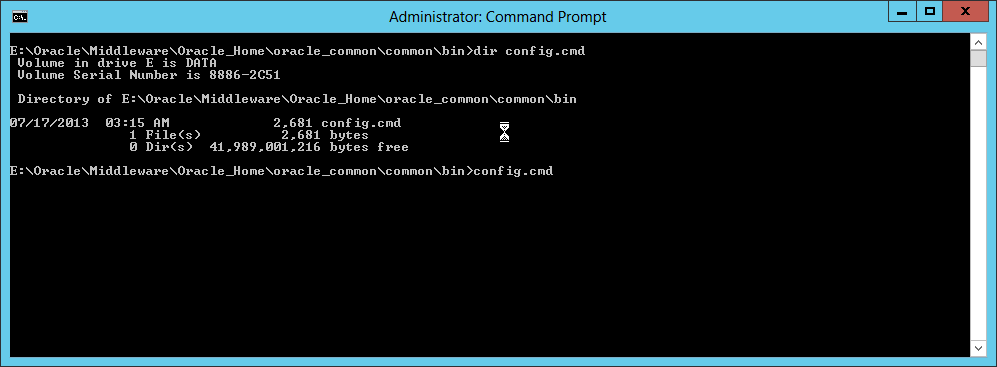
Fig. 019 If configuration wizard was not launched after installation, launch it by running config.cmd from %ORACLE_HOME%\oracle_common\common\bin directory
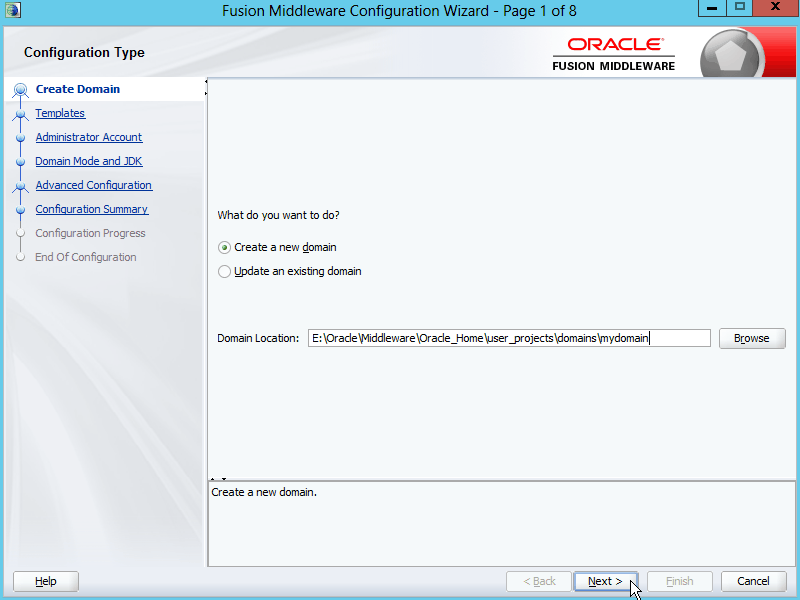
Fig. 020 Select "Create a new domain". Specify the desired directory for Domain Location
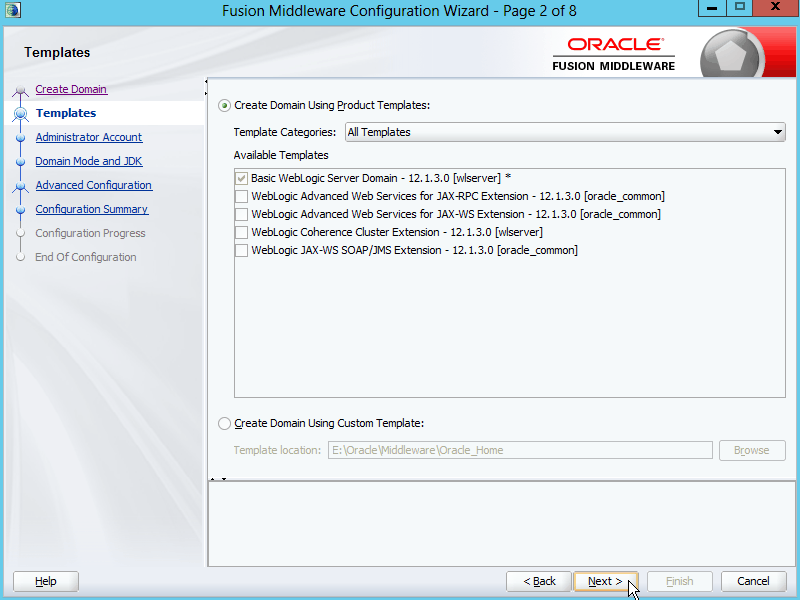
Fig. 021 Select "Create Domain Using Product Templates" and chose "Basic WebLogic Server Domain"
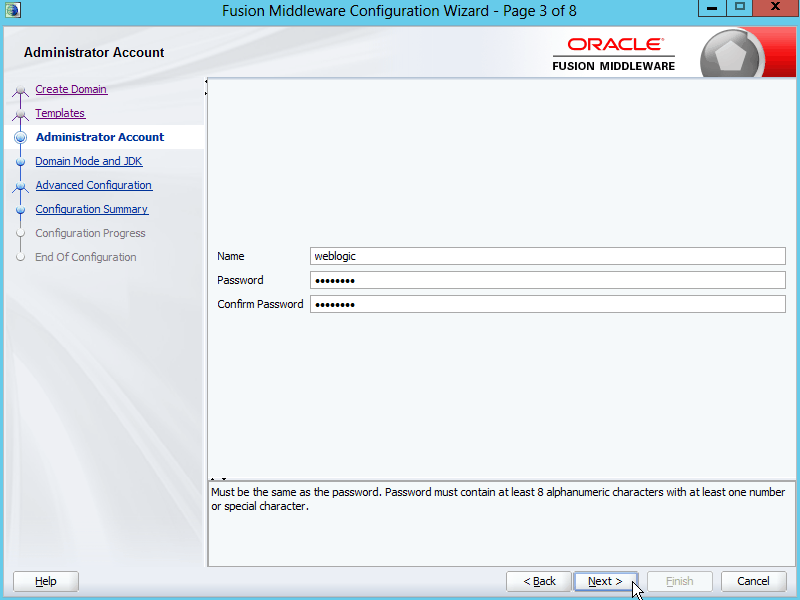
Fig. 022 Enter the administrator username and password for the domain
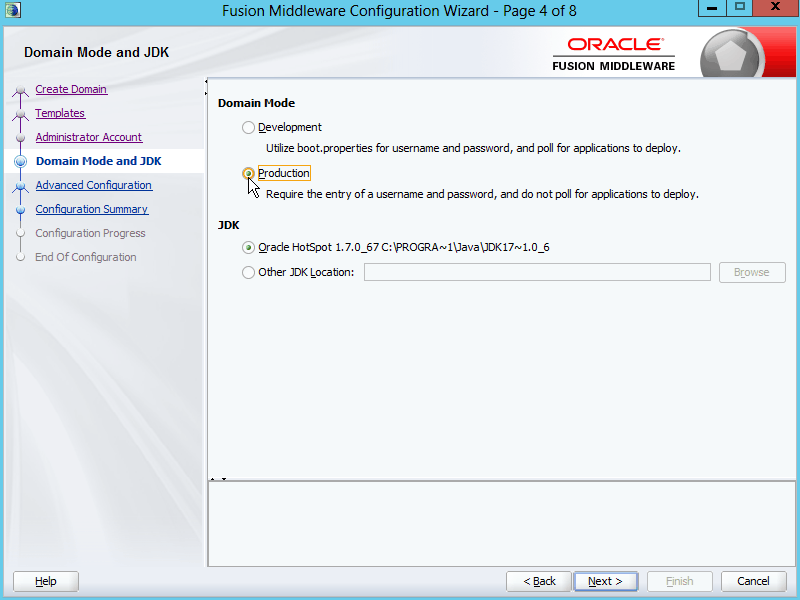
Fig. 023 For Domain Mode, select Production. For JDK, it will default to the java used to launch this installer, select as required. Must be JDK instead of JRE
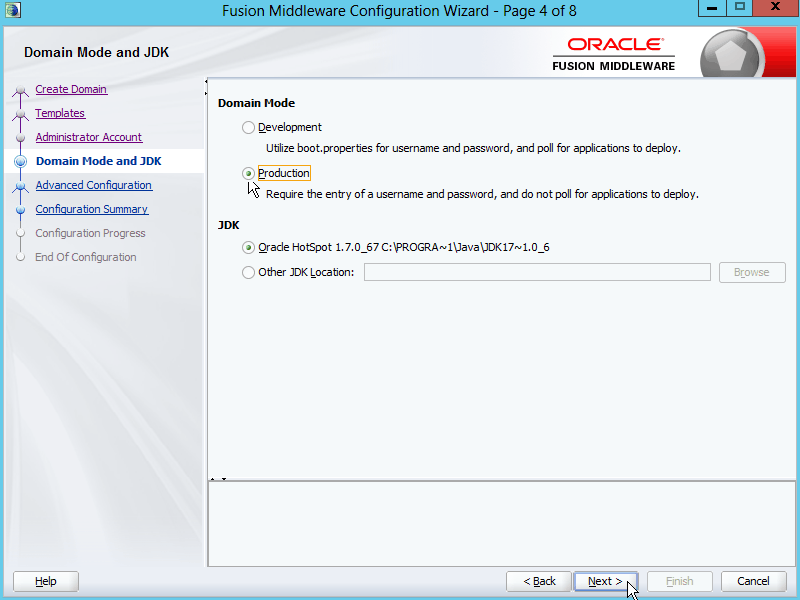
Fig. 024 Click Next
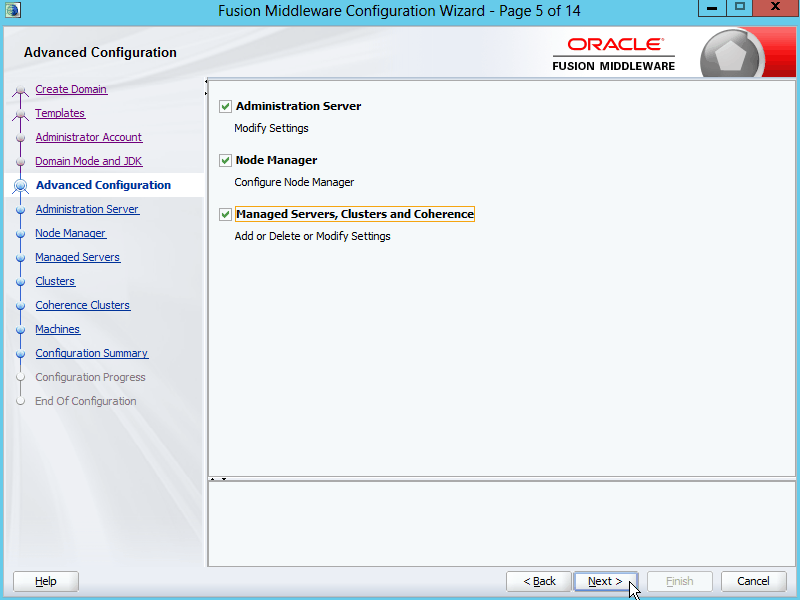
Fig. 025 Check all options to setup Administration Server, Node Manager and Managed Servers
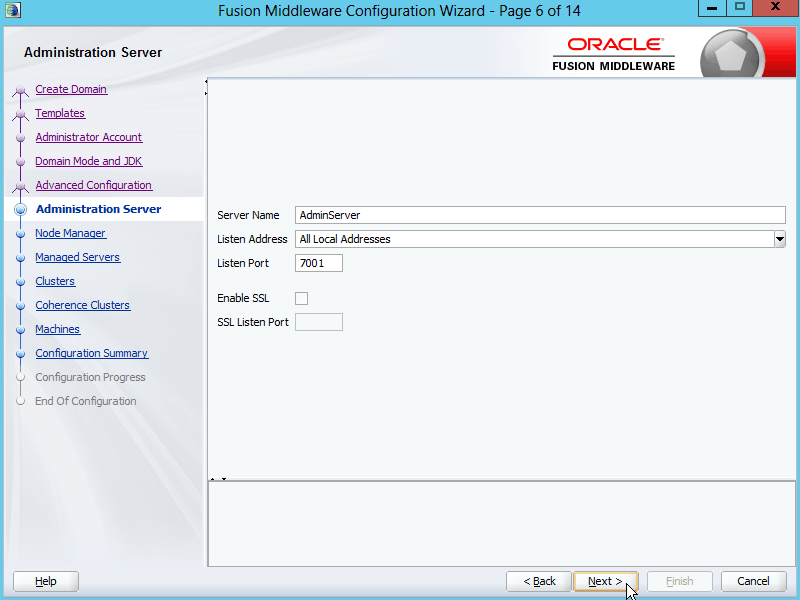
Fig. 026 For Administration Server, specify the Server Name, Listen Address and Listen Port. Click Next
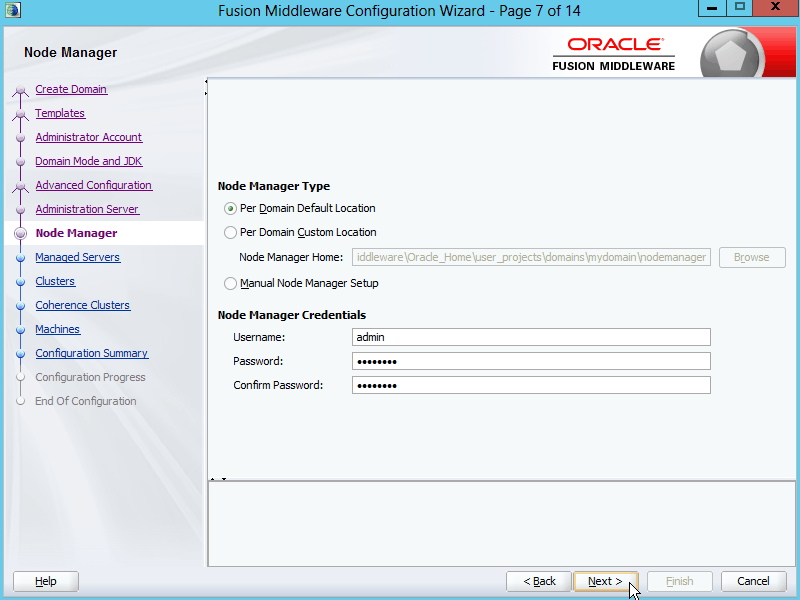
Fig. 027 Leave the Node Manager Type selection as Per Domain Default Location and enter the username and password for the Node Manager
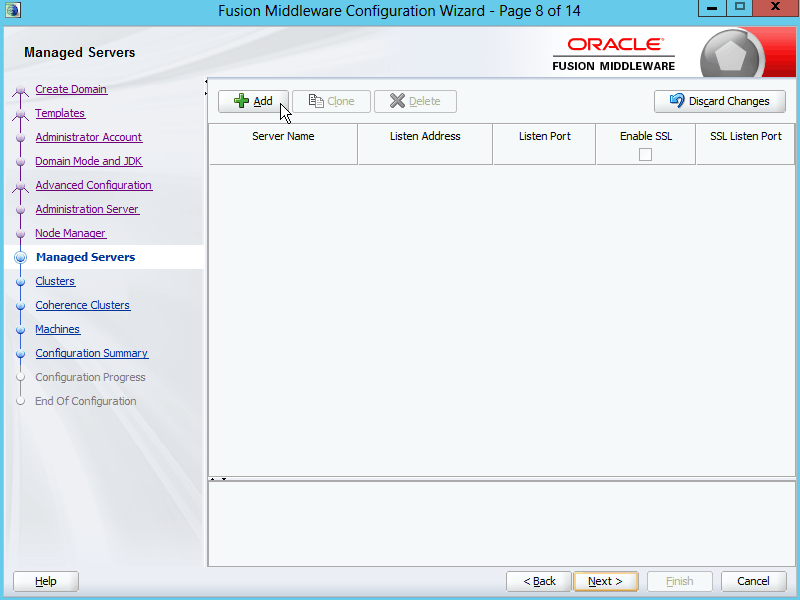
Fig. 028 Click Add
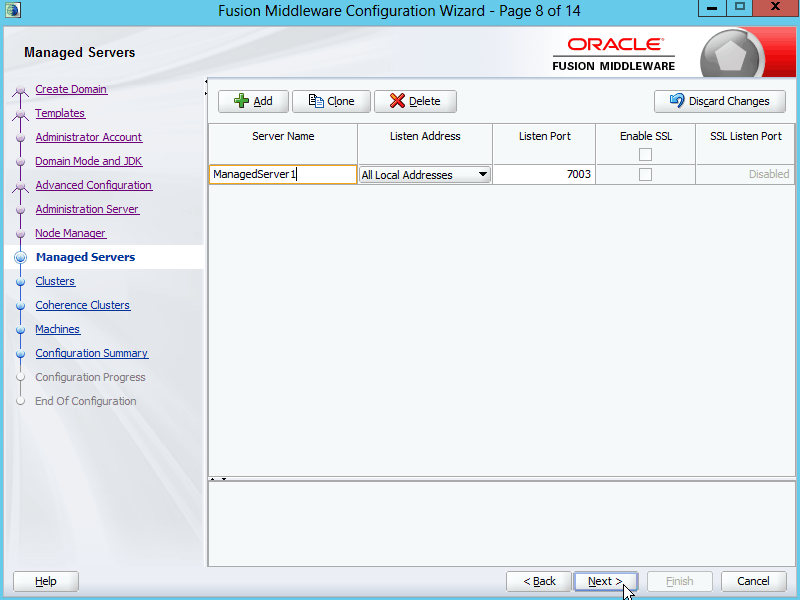
Fig. 029 Enter the Server Name, Listen Address and Listen Port for the managed server to be created. Click Next
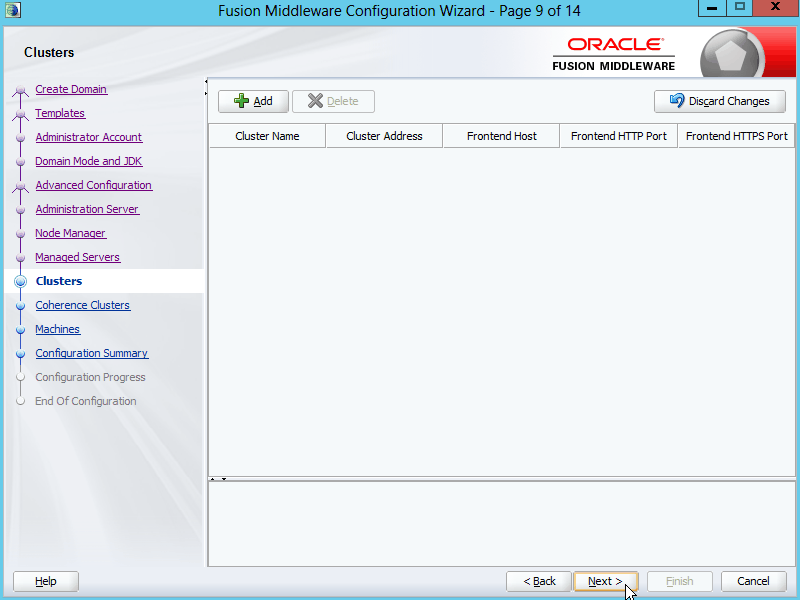
Fig. 030 Leave Cluster settings empty and click Next
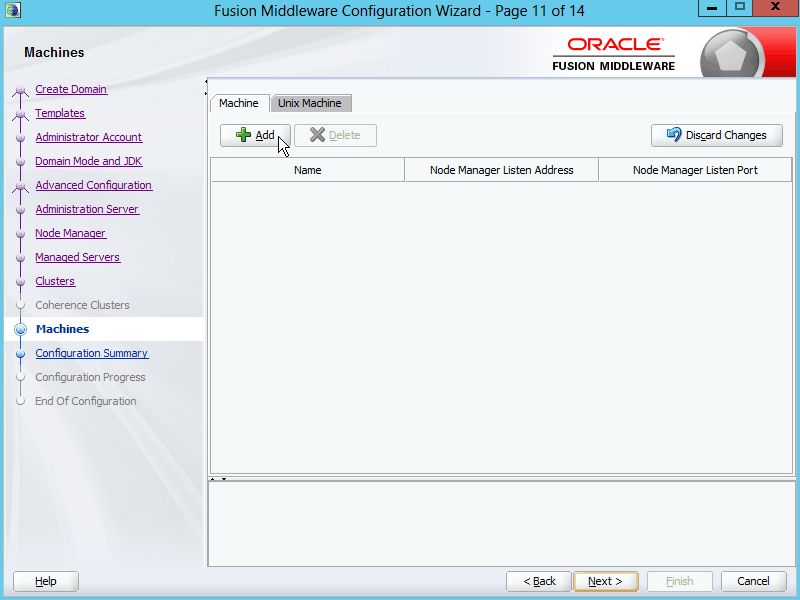
Fig. 031 Since we require a node manager, we have to add a machine. Click Add
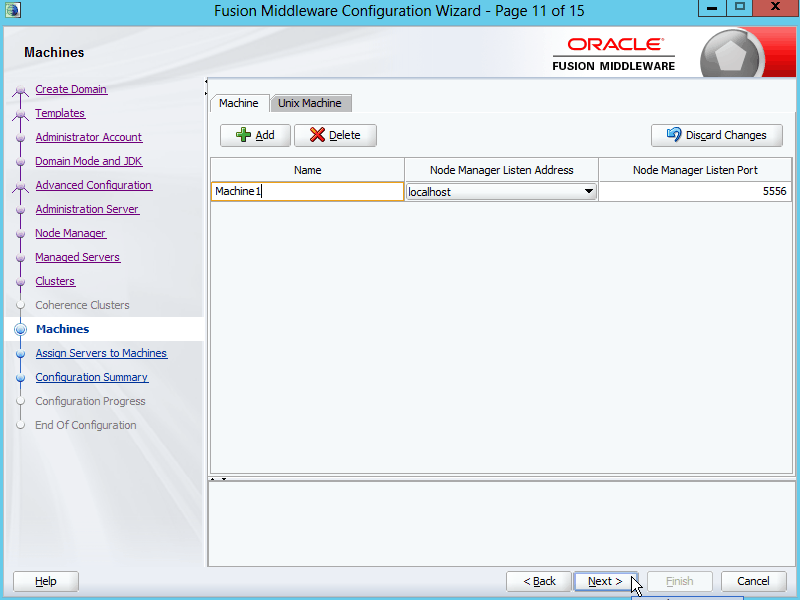
Fig. 032 Specify the Name, Listen Address and Listen Port.
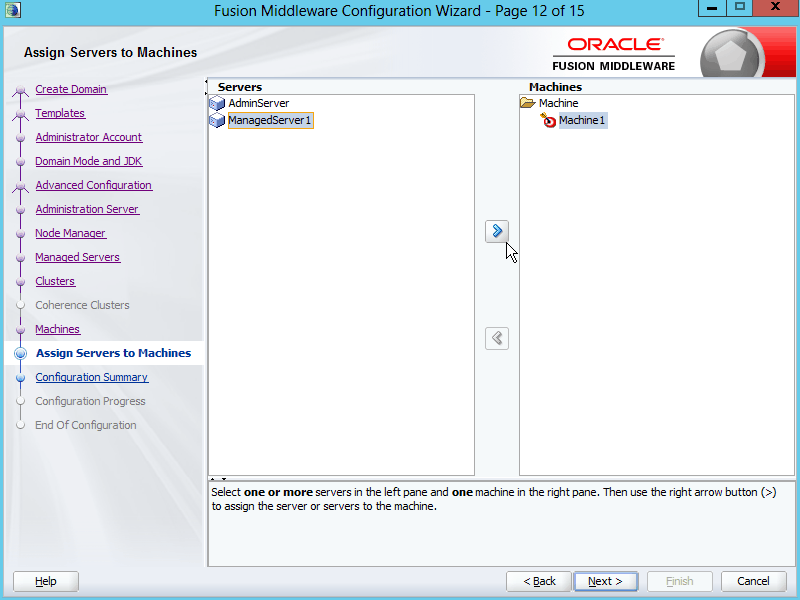
Fig. 033 In the Servers box, select ManagedServer1 and click the arrow button [>] to assign it to the machine Machine1
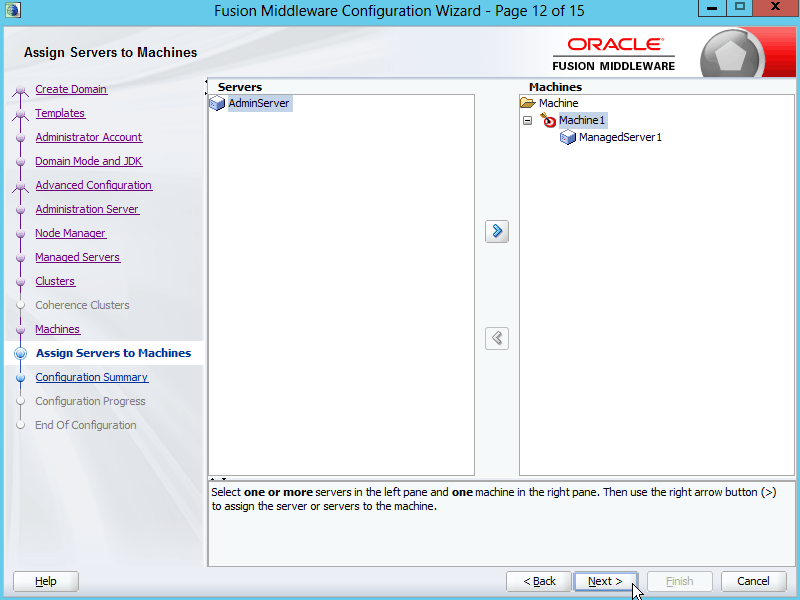
Fig. 034 Click Next
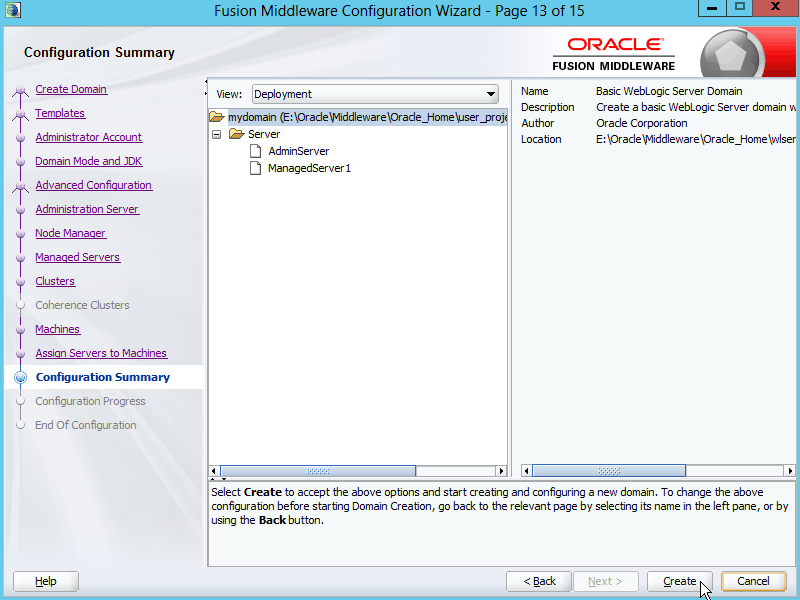
Fig. 035 Review the Configuration Summary and once verified OK, click Create
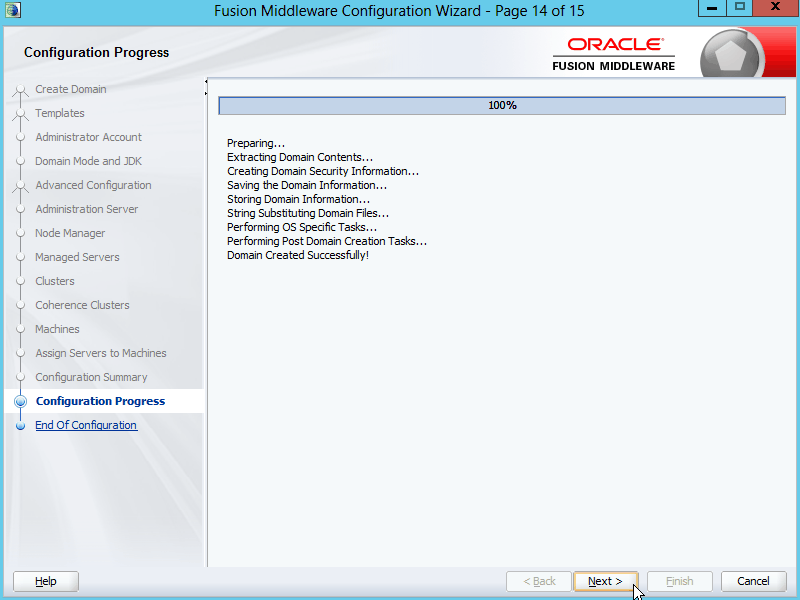
Fig. 036 Click Next
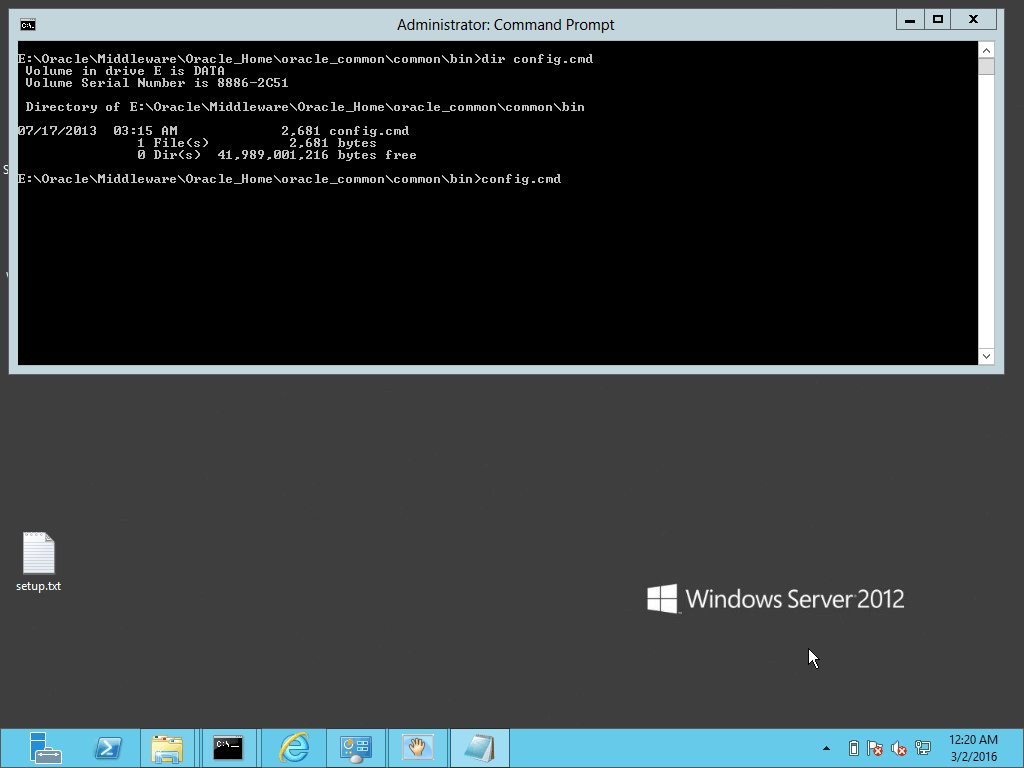
Fig. 037 Run config.cmd again if we need to amend the domain configuration, otherwise proceed to next step.
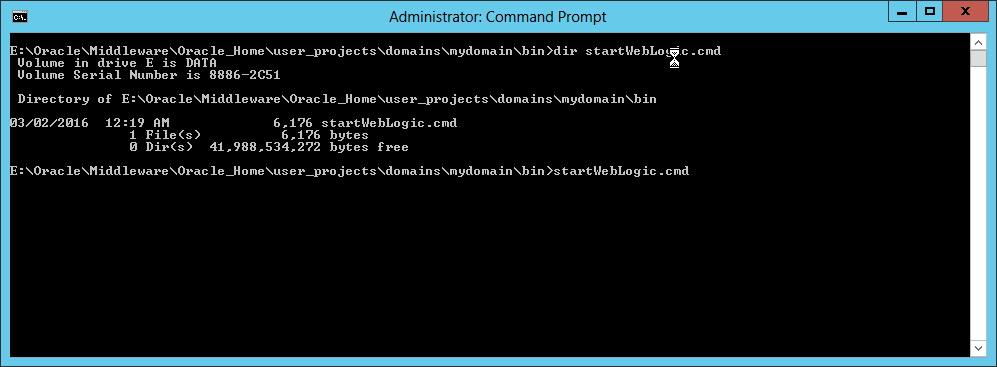
Fig. 038 Open Command Prompt and change to the domain's bin directory. Run startWebLogic.cmd for the first time.
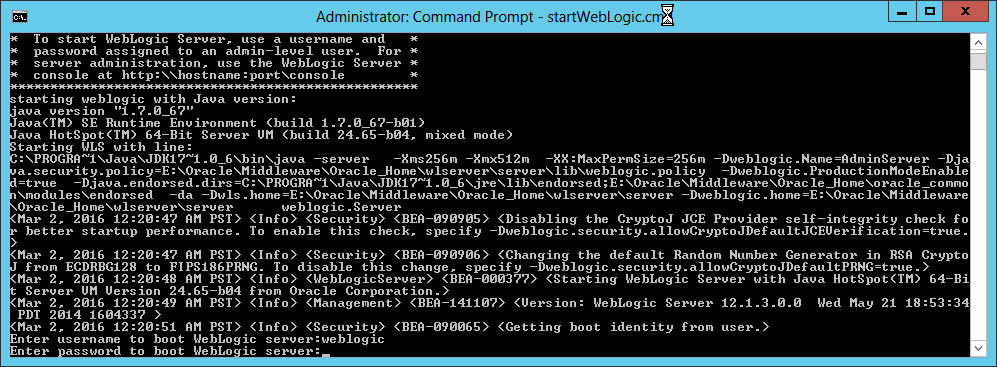
Fig. 039 Enter the username and password when prompted
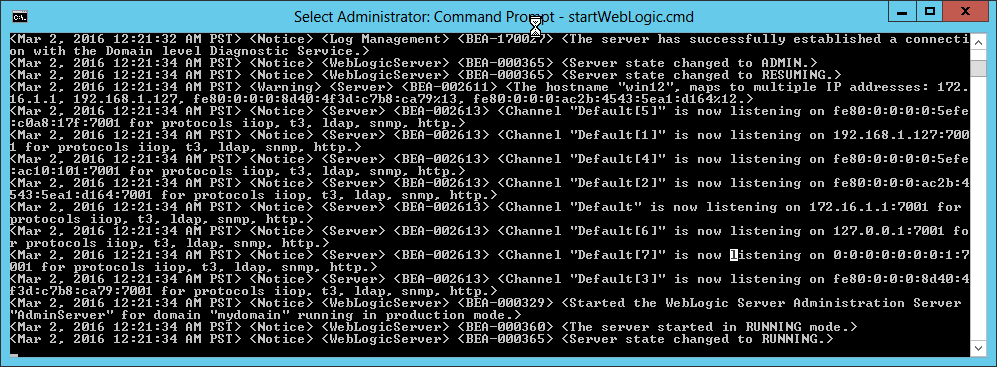
Fig. 040 Wait until the Administration Server has started up completely and enters RUNNING state.
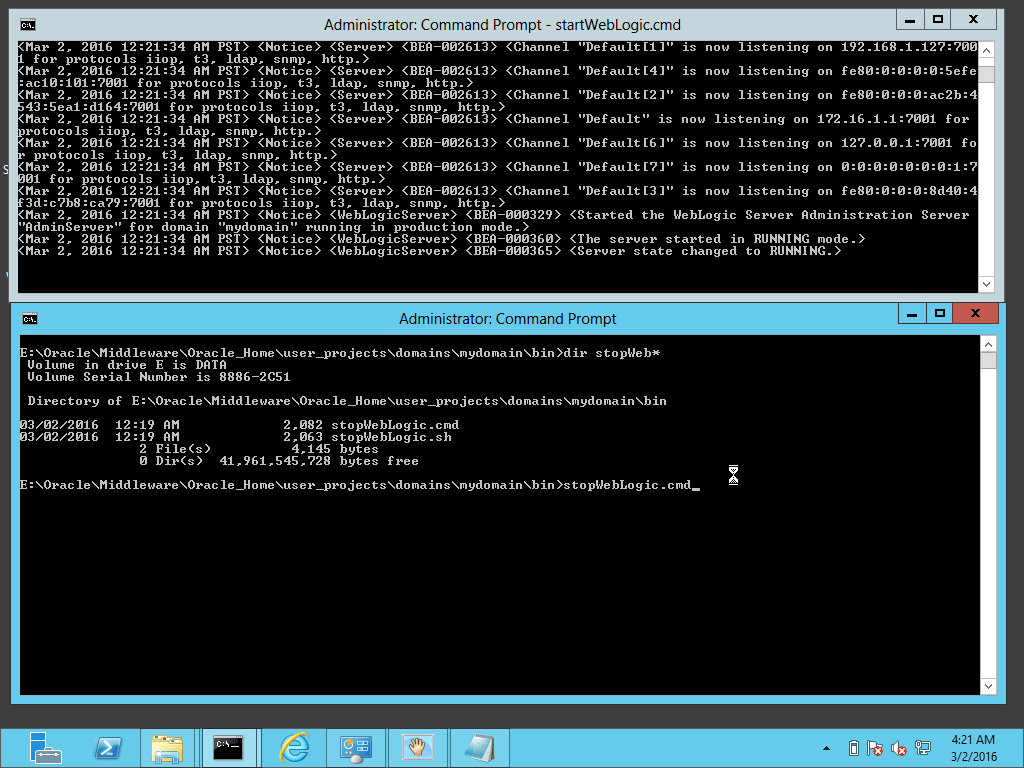
Fig. 041 Stop the Administration Server by running stopWebLogic.cmd or simply hitting Ctrl-C on the running server's console.
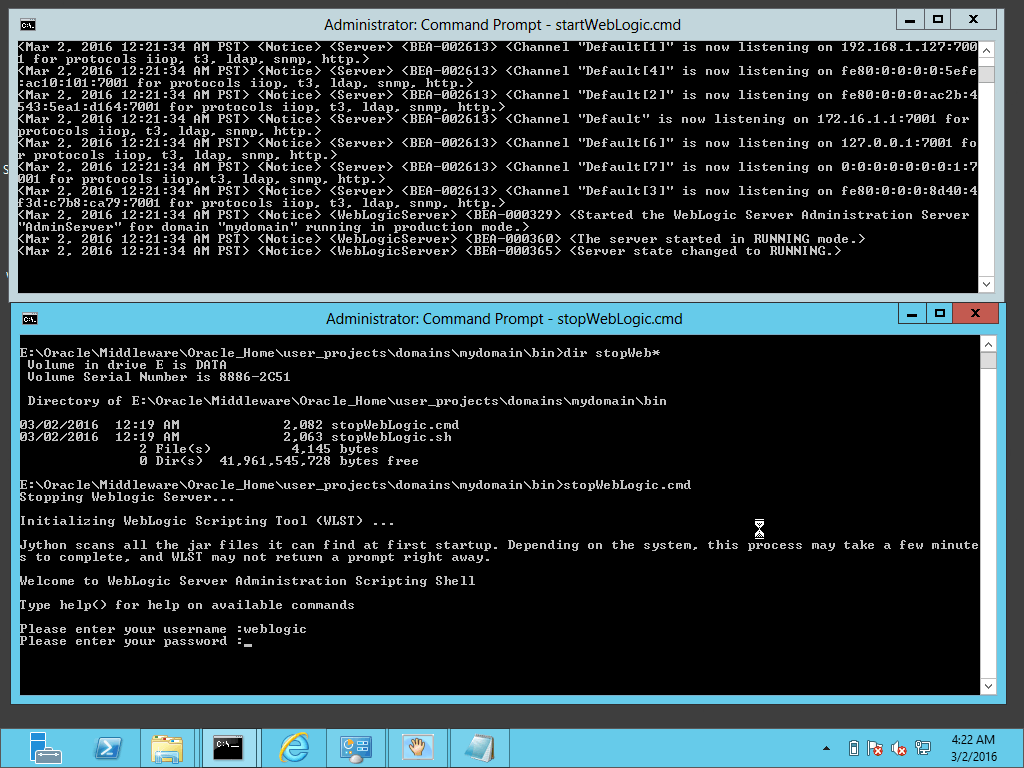
Fig. 042 If you used stopWebLogic.cmd script, you will need to enter the username and password to complete the action

Fig. 043 Administration Server stopped

Fig. 044 At the AdminServer directory create a subdirectory named security and create a text file named boot.properties
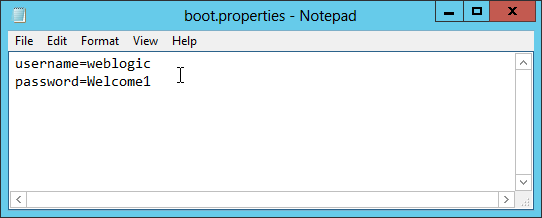
Fig. 045 Type in the plain text username and password in the format shown. Use your actual username and password in place of weblogic and Welcome1. Save and exit notepad
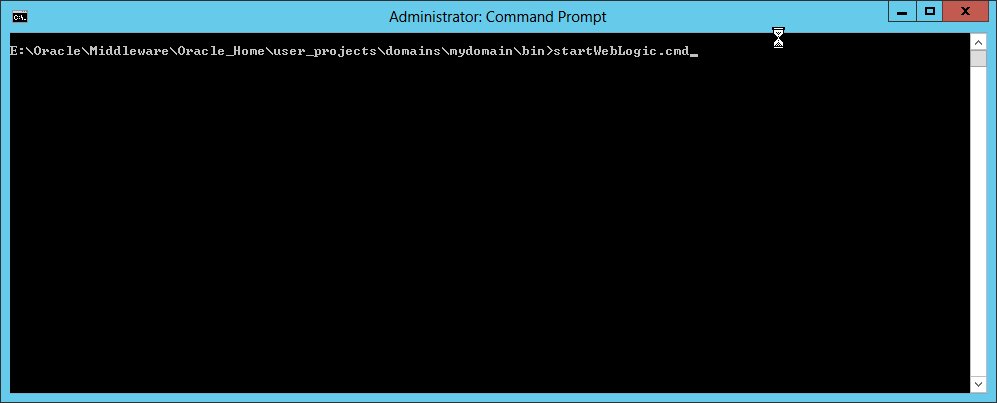
Fig. 046 Go back to the domain bin directory and start the administration server by running startWeblogic.cmd
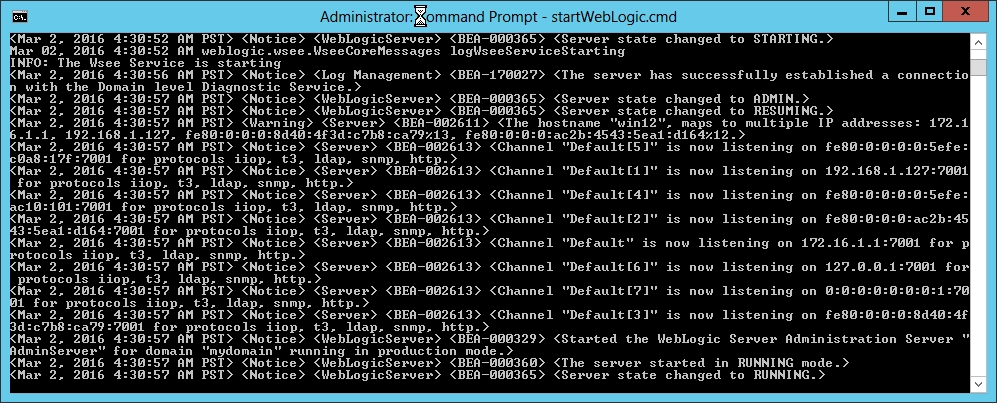
Fig. 047 The administration server named AdminServer should start up and enter RUNNING state without being prompted to enter username and password
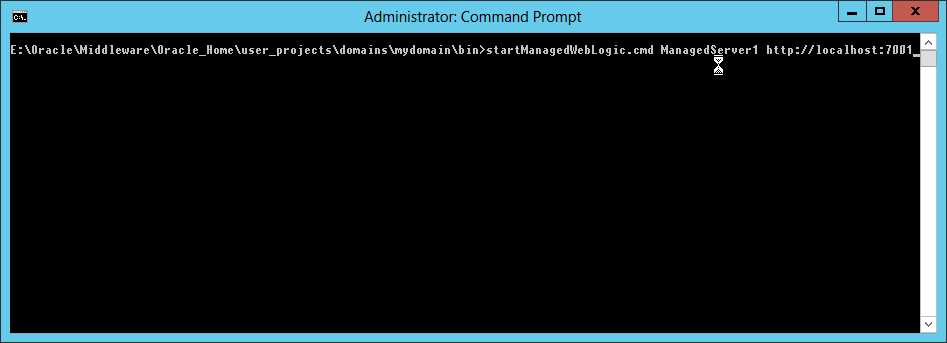
Fig. 048 At the domain bin directory, run startManagedWebLogic.cmd ManagedServer1 http://localhost:7001 to start the managed server for the first time.

Fig. 049 Enter the admin username and password to proceed with the start up.
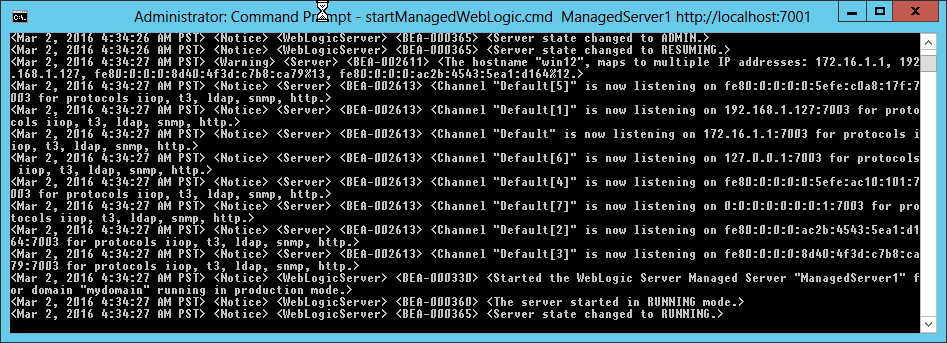
Fig. 050 Ensure server started up completely and enters RUNNING state
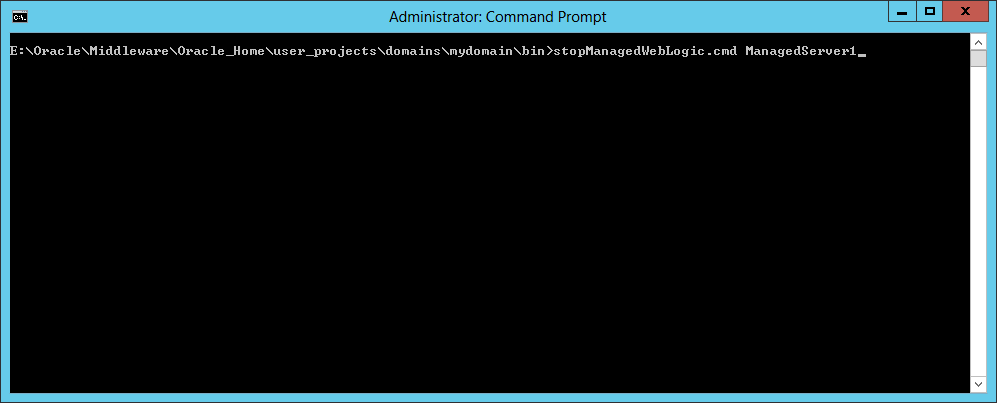
Fig. 051 Stop the managed server by running stopManagedWebLogic.cmd ManagedServer1
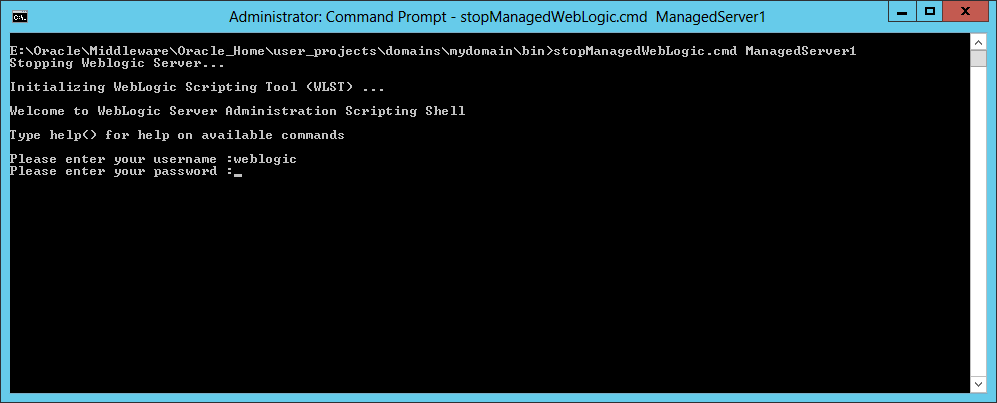
Fig. 052 Enter username and password to complete the action
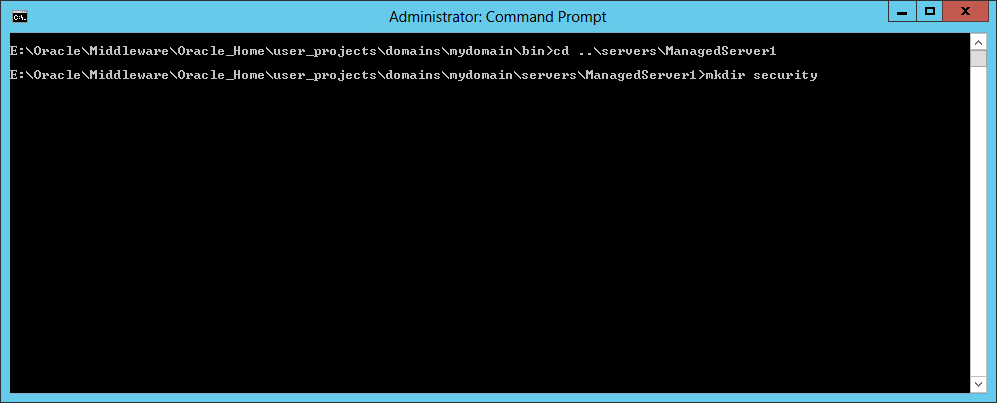
Fig. 053 Change to the ManagedServer1 directory, create a subdirectory named security,
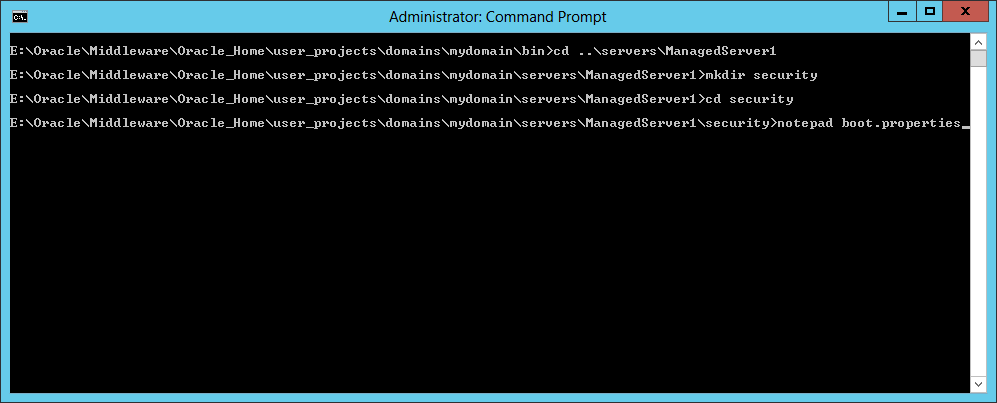
Fig. 054 Change directory by typing cd security then create a text file boot.properties with notepad
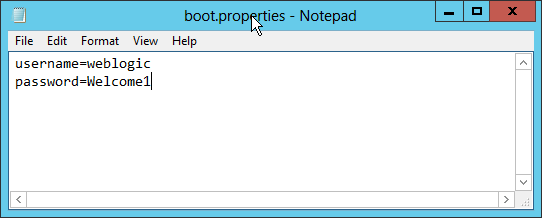
Fig. 055 Enter the plain text username and password in the format shown. Use your actual username and password in place of weblogic and Welcome1. Save and exit notepad

Fig. 056 Return to the domain bin directory and start the Managed server again by typing startManagedWebLogic Managed1 http://localhost:7001
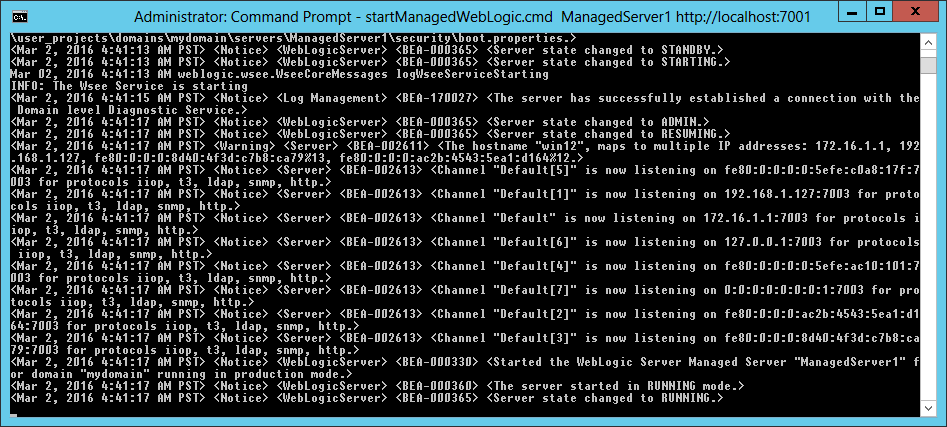
Fig. 057 Ensure the managed server Managed1 starts up completely and enter RUNNING state without being prompted for username and password
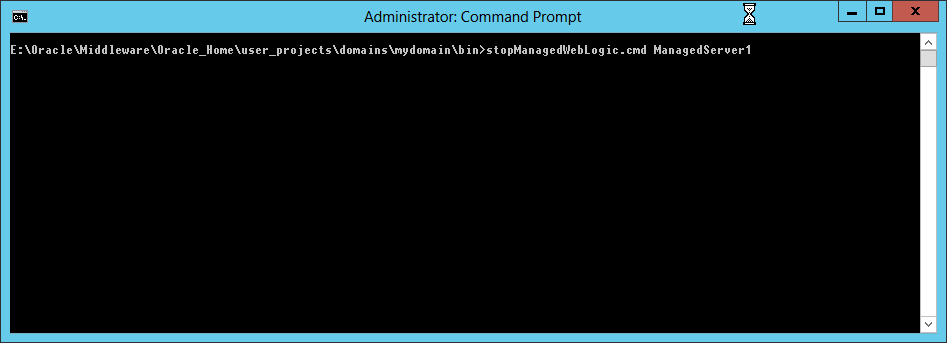
Fig. 058 Stop the managed server by running stopManagedWebLogic.cmd ManagedServer1
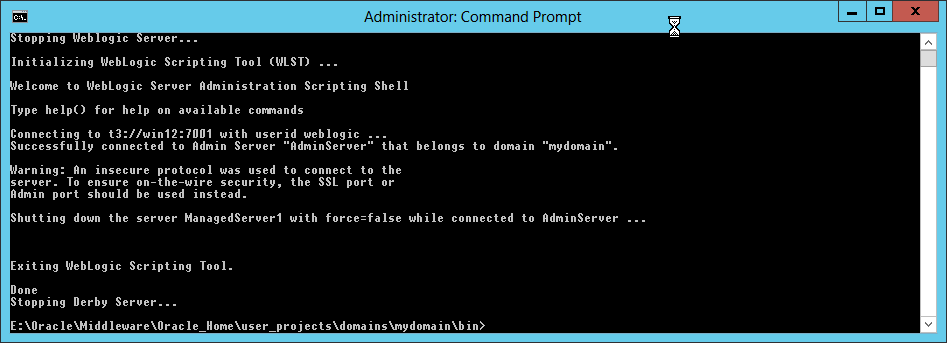
Fig. 059 Enter the admin username and password to complete the action
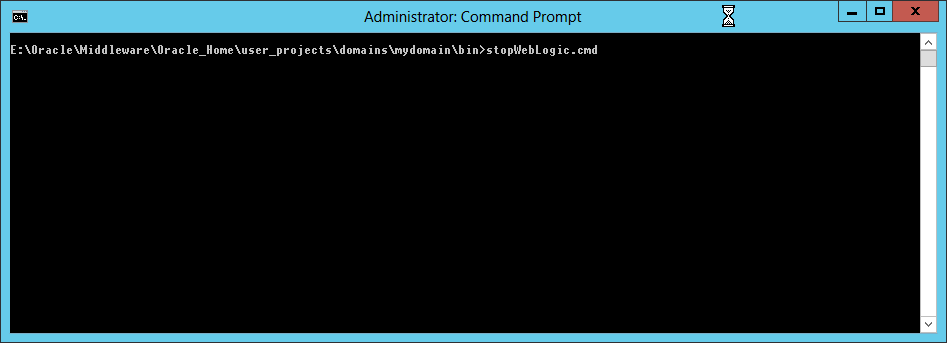
Fig. 060 Stop the Administration Server by running stopWebLogic.cmd
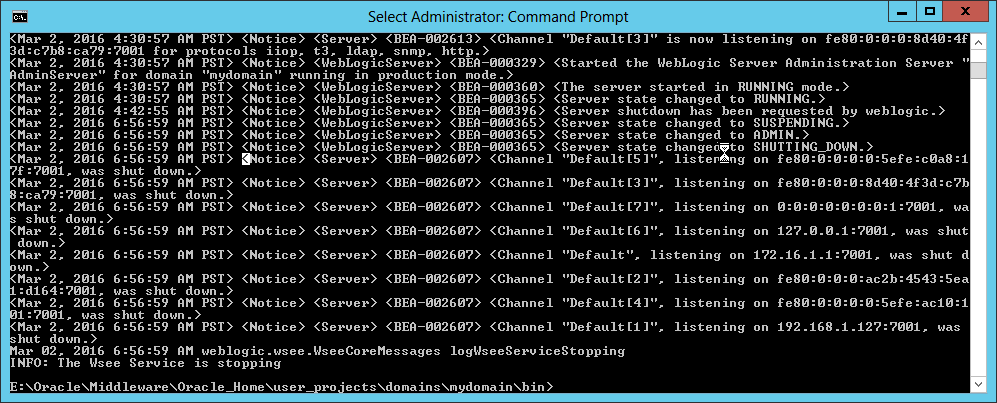
Fig. 061 Ensure the Administration Server is completely stopped.
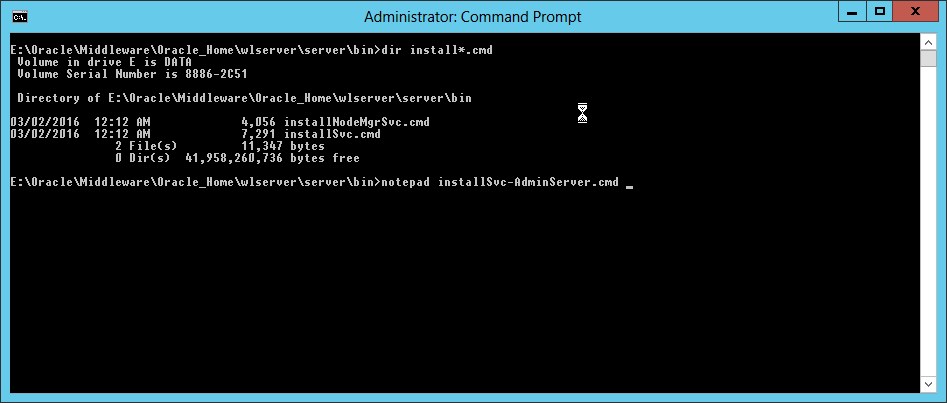
Fig. 062 Go to E:\oracle\middleware\oracle_home\wlserver\server\bin which is equivalent to %ORACLE_HOME%\wlserver\server\bin and notice there are 2 scripts provided by the installation ie. installNodeMgrSvc.cmd and installSvc.cmd. We will create a master script with our AdminServer details defined in environment variables and then call the generic installSvc.cmd script to create a windows service for our Administration server named AdminServer. In our example we use notepad to create this script and name it as installSvc-AdminServer.cmd

Fig. 063 Define values for the variables DOMAIN_NAME, USERDOMAIN_HOME and SERVER_NAME and optionally add whatever additional JAVA_OPTIONS to append to the standard java options. For Java Memory settings we will directly edit at the registry for the created service. In our example we specify the paths to the STDOUT and STDERR output streams of that weblogic server instance. Save and exit notepad.
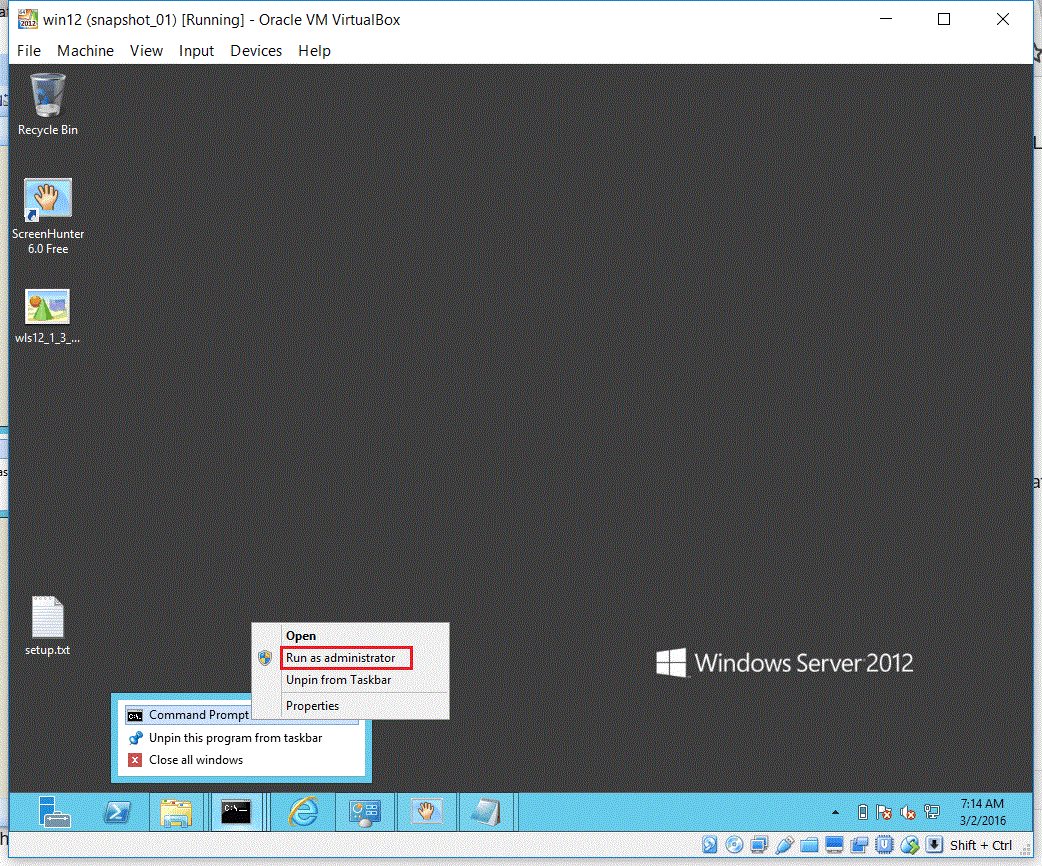
Fig. 064 Open a Command Prompt with Run as administrator privilege. This is a must as we are creating a new windows service.
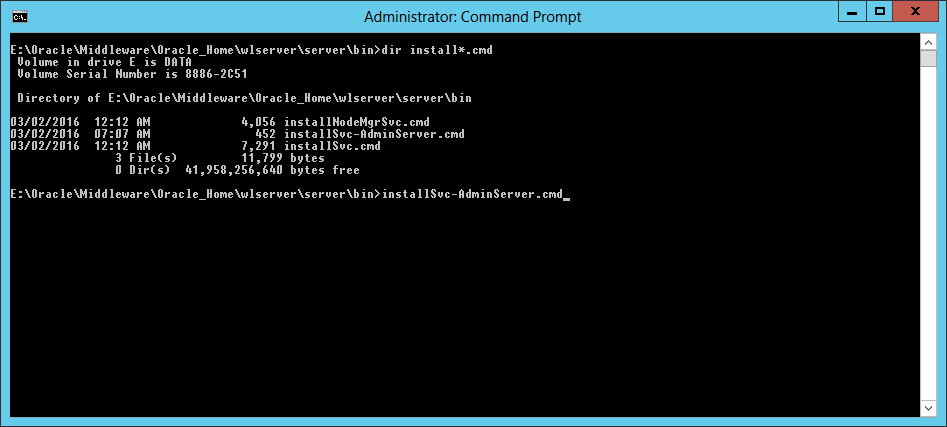
Fig. 065 Run installSvc-AdminServer.cmd

Fig. 066 Open the windows Services management console and find the newly created service named wlsvc mydomain_AdminServer. Click the Start Service button to start the service

Fig. 067 Ensure the service enters and remains in Running status
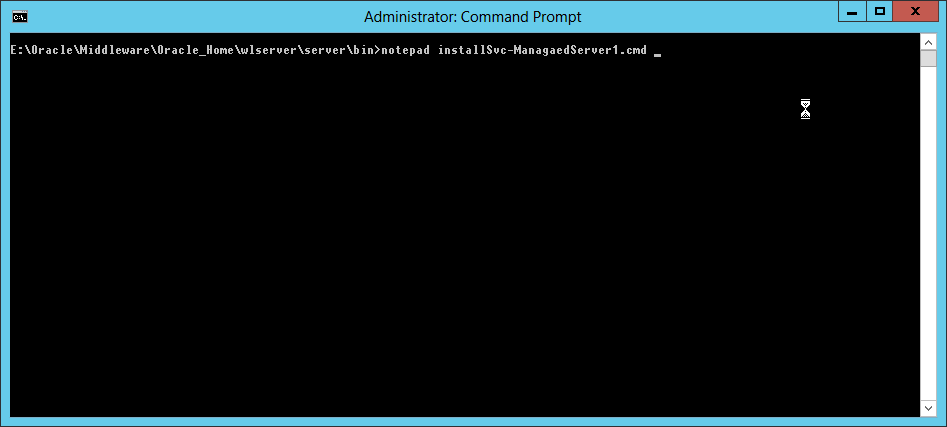
Fig. 068 Go to E:\oracle\middleware\oracle_home\wlserver\server\bin and create a master script to create the Managed1 server as a windows service. This script will define the environment variables for that will be used when calling the generic installSvc.cmd to create the managed server named Managed1 as a windows service.
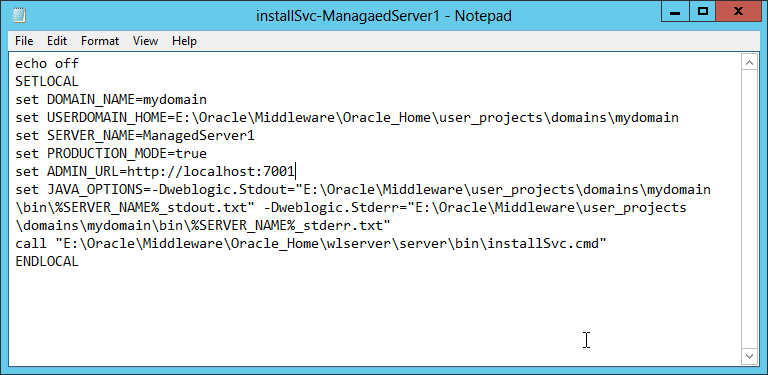
Fig. 069 We define the values for DOMAIN_NAME, USERDOMAIN_HOME, SERVER_NAME, PRODUCTION_MODE, ADMIN_URL and optionally we add JAVA_OPTIONS to specify the paths to the STDOUT and STDERR output streams of that weblogic server instance. Save and exit notepad
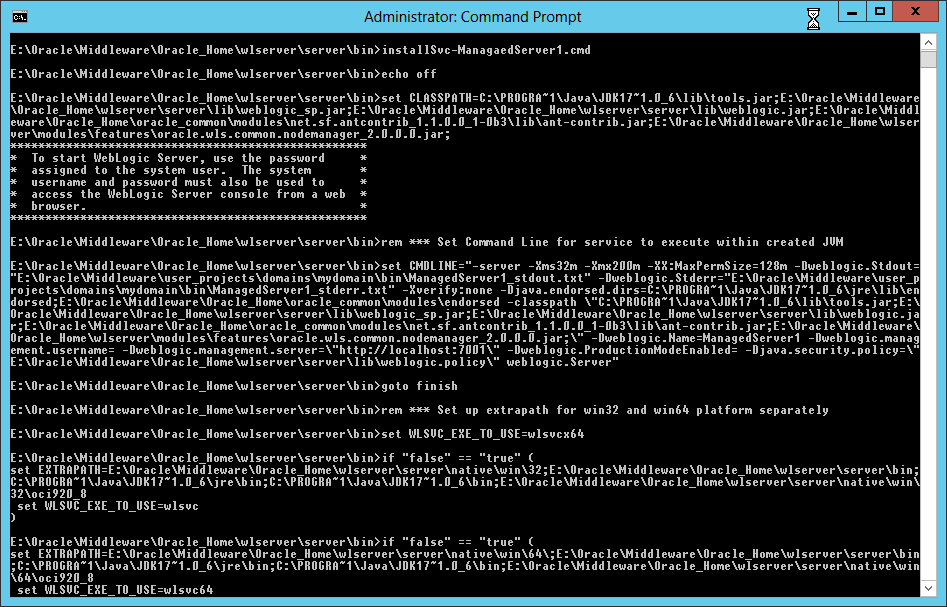
Fig. 070 From a Command Prompt with Run as administrator privilege, run the script installSvc-Managed1.cmd to create the service

Fig. 071 In the Windows Services management console, find the newly created service named wlsvc mydomain_Managed1 and click the Start Service button to start the service.
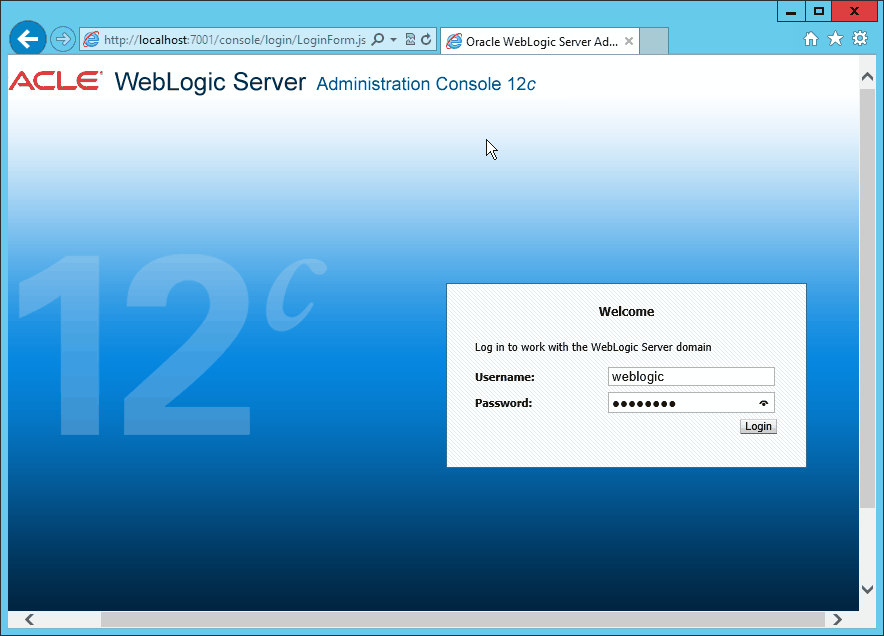
Fig. 072 Open a web browser and load the admin console http://localhost:7001/console. login as the admin user
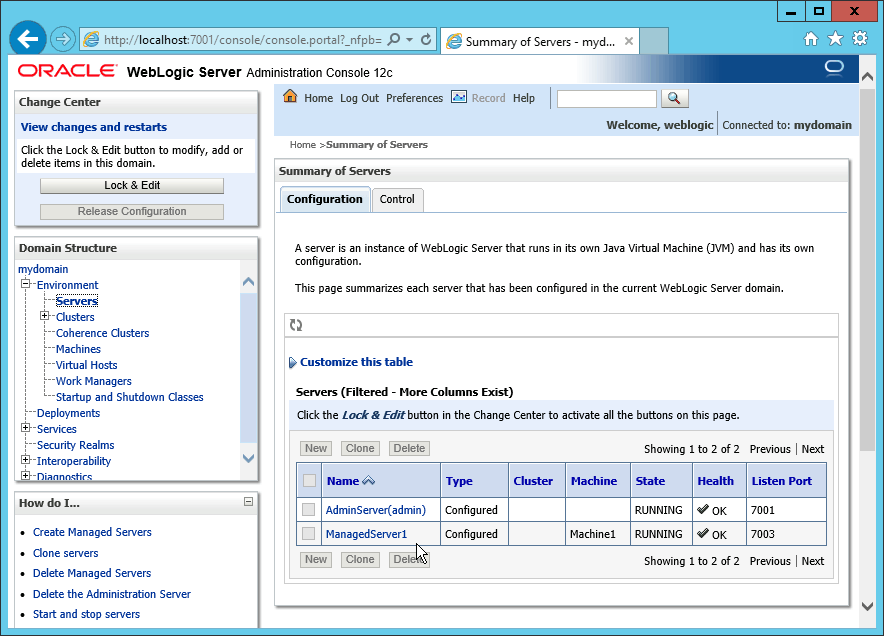
Fig. 073 Click the Servers menu to list the Admin and managed server instances. They should all be in RUNNING state

Fig. 074 Go to the domain's node manager directory e.g. from the oracle_home, cd user_projects\mydomain\nodemanager

Fig. 075 edit the nodemanager.properties file with nodepad.
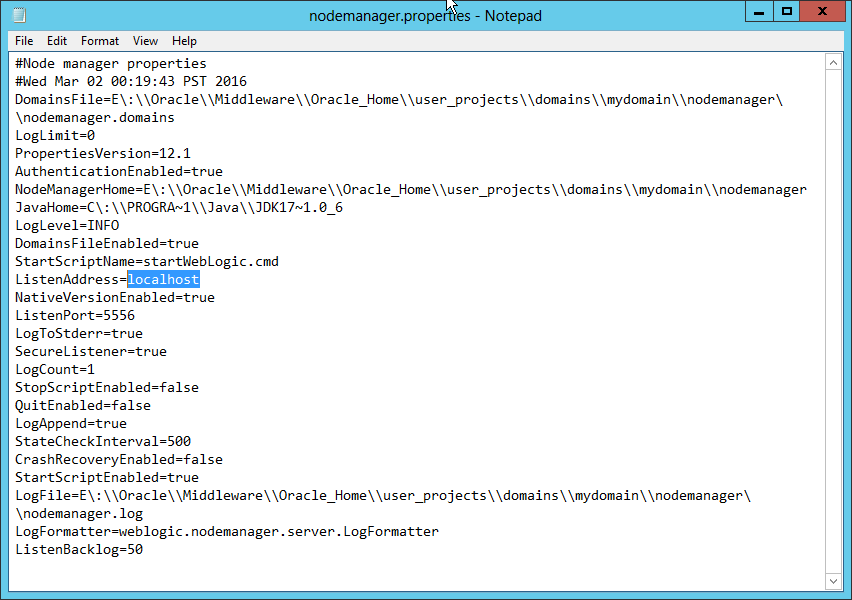
Fig. 076 Remove localhost value from the ListenAddress parameter. Leave ListenAddress empty

Fig. 077 Change StopScriptEnabled value to true
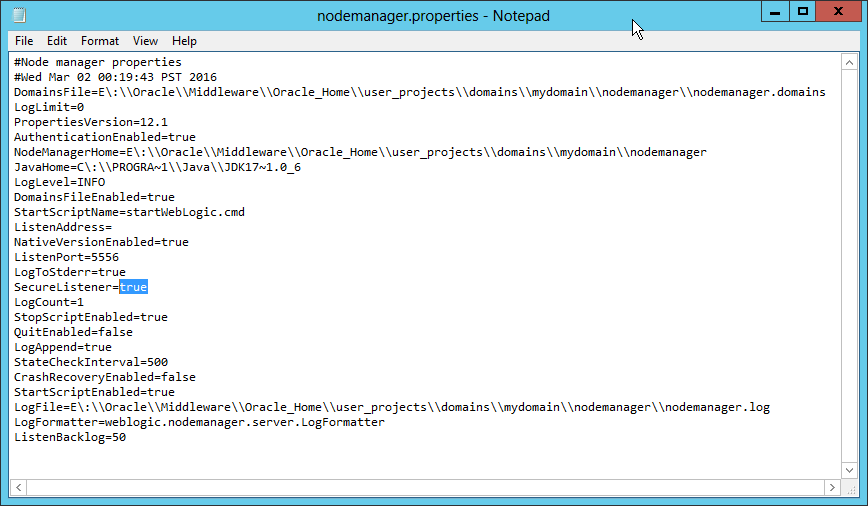
Fig. 078 Change the SecureListener value to false

Fig. 079 Final values in the nodemanager.properties Save the file.

Fig. 080 Go to the domain bin directory and run startNodeManager.cmd to run the node manager service with the new nodemanager.properties settings
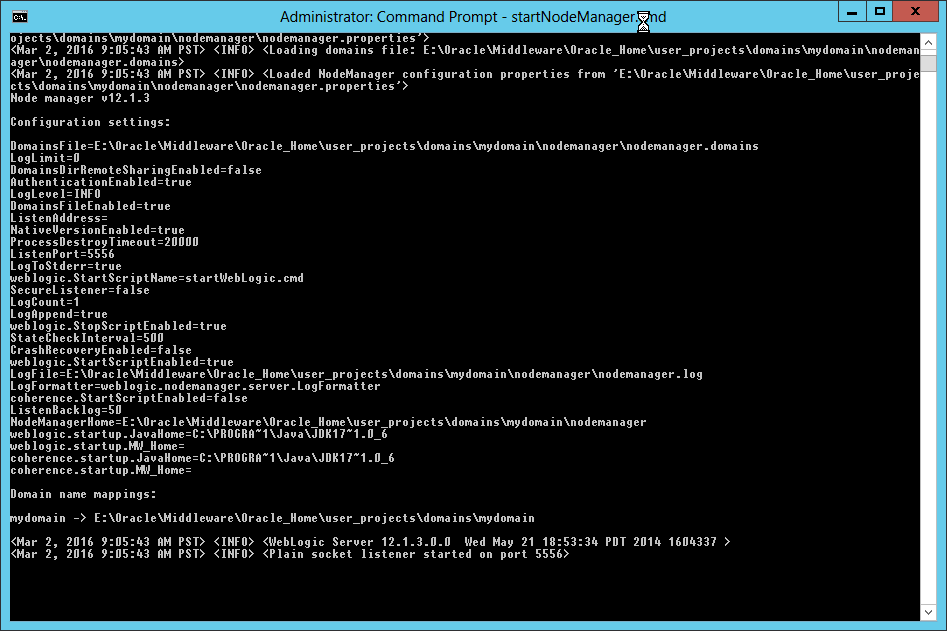
Fig. 081 Confirm the node manager service is running
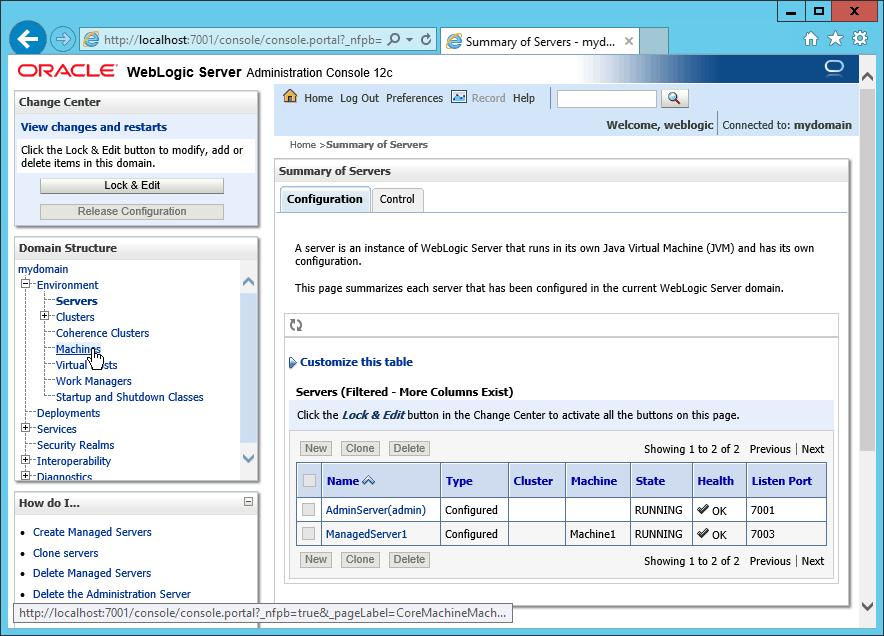
Fig. 082 Login to the admin console http://localhost:7001/console, login as admin user and select Machines menu item
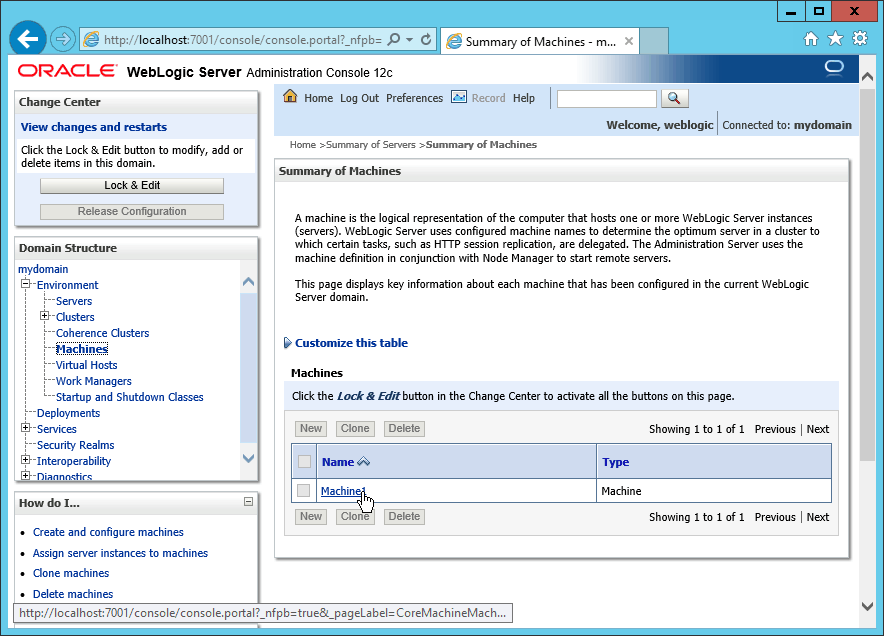
Fig. 083 Click the Machine name listed. In our case Machine1

Fig. 084 Click Node Manager tab
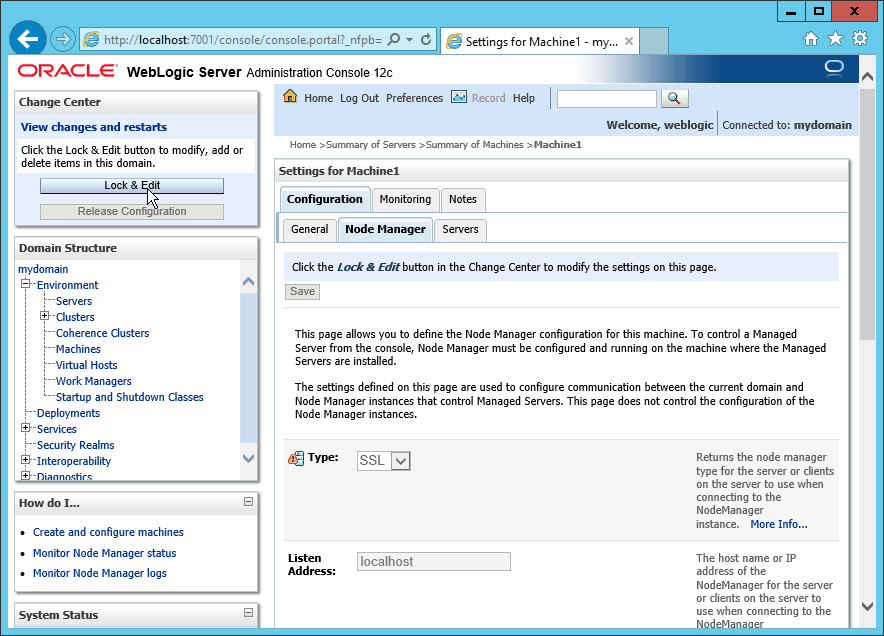
Fig. 085 Click Lock & Edit to let us change the node manager properties defined in the admin server.

Fig. 086 Set Type as Plain
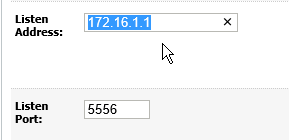
Fig. 087 Leave the Listen Port as 5556
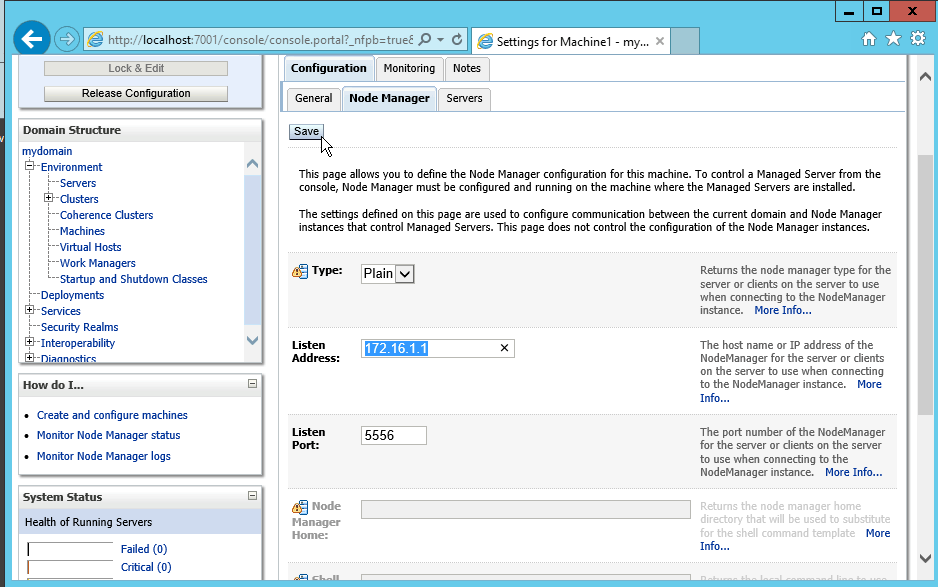
Fig. 088 Change Listen Address and replace localhost with actual IP address. It should be from one of the IP address that the admin server instance can connect to the node manager service.
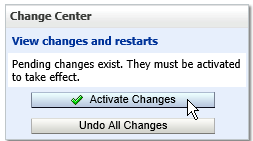
Fig. 089 Click Activate Changes button to apply the changes in the admin server configuration.

Fig. 090 This shows the IP address on the machine and the listening port of the node manager.

Fig. 091 Go to the %ORACLE_HOME%\wlserver\server\bin directory (in our case E:\Oracle\Middleware\Oracle_Home\wlserver\server\bin. Edit the installNodeMgrSvc.cmd script with nodepad.
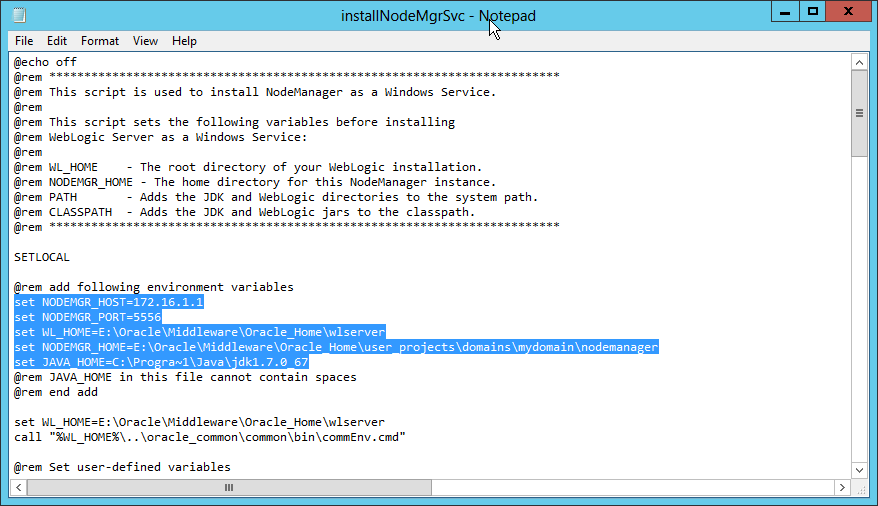
Fig. 092 At the top section of the script, define the values for NODEMGR_HOST, NODEMGR_PORT, WL_HOME, NODEMGR_HOME, JAVA_HOME. It was found that the JAVA_HOME value should not contain spaces, not even when enclosed within double quotes "". e.g. for C:\Program Files\Java\jdk1.7.0.67 shorten Program Files as Progra~1
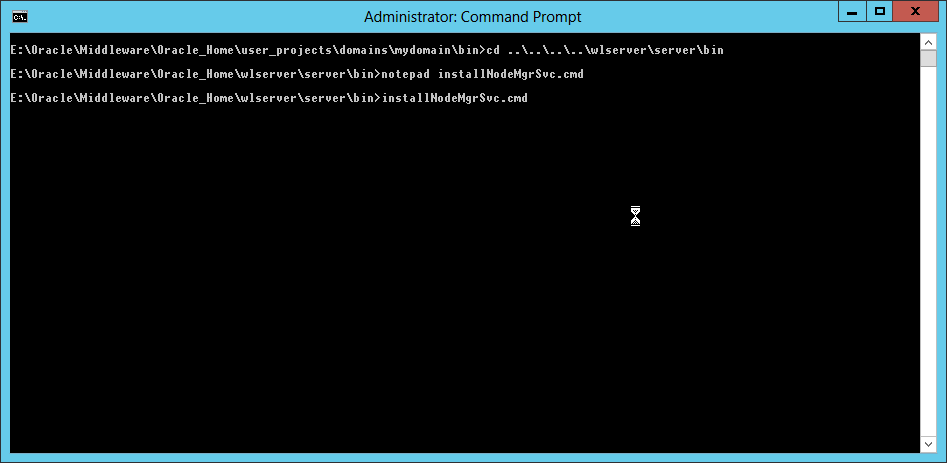
Fig. 093 run installNodeMgrSvc.cmd
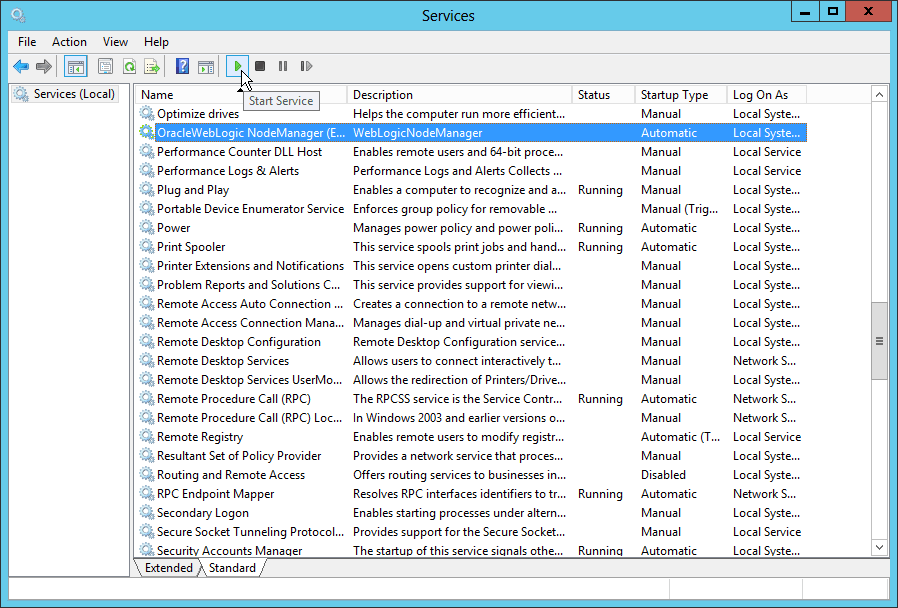
Fig. 094 Open windows services management console and find OracleWebLogic NodeManager (...) service. The part in the bracket is the nodemanager home directory. Click Start Service to start the node manager
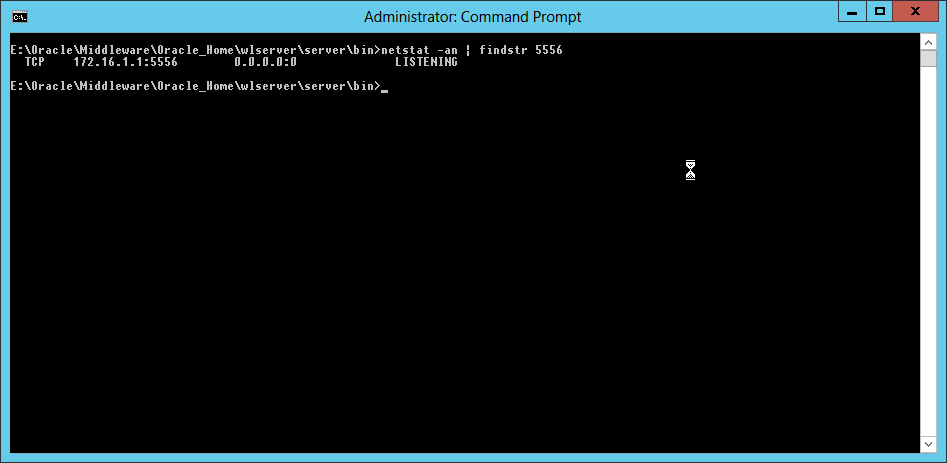
Fig. 095 Use netstat command to show the node manager service listening to port 5556